
This guide explains how to install a DataFly eSIM using the quick installation feature on Android devices, as well as the steps required to activate internet service after installation.
Before you start, make sure you have the following:
A stable internet connection.
An Android phone that supports eSIM and is not carrier-locked.
Part 1: Install the eSIM
Open the DataFly app.
Tap "My eSIMs".
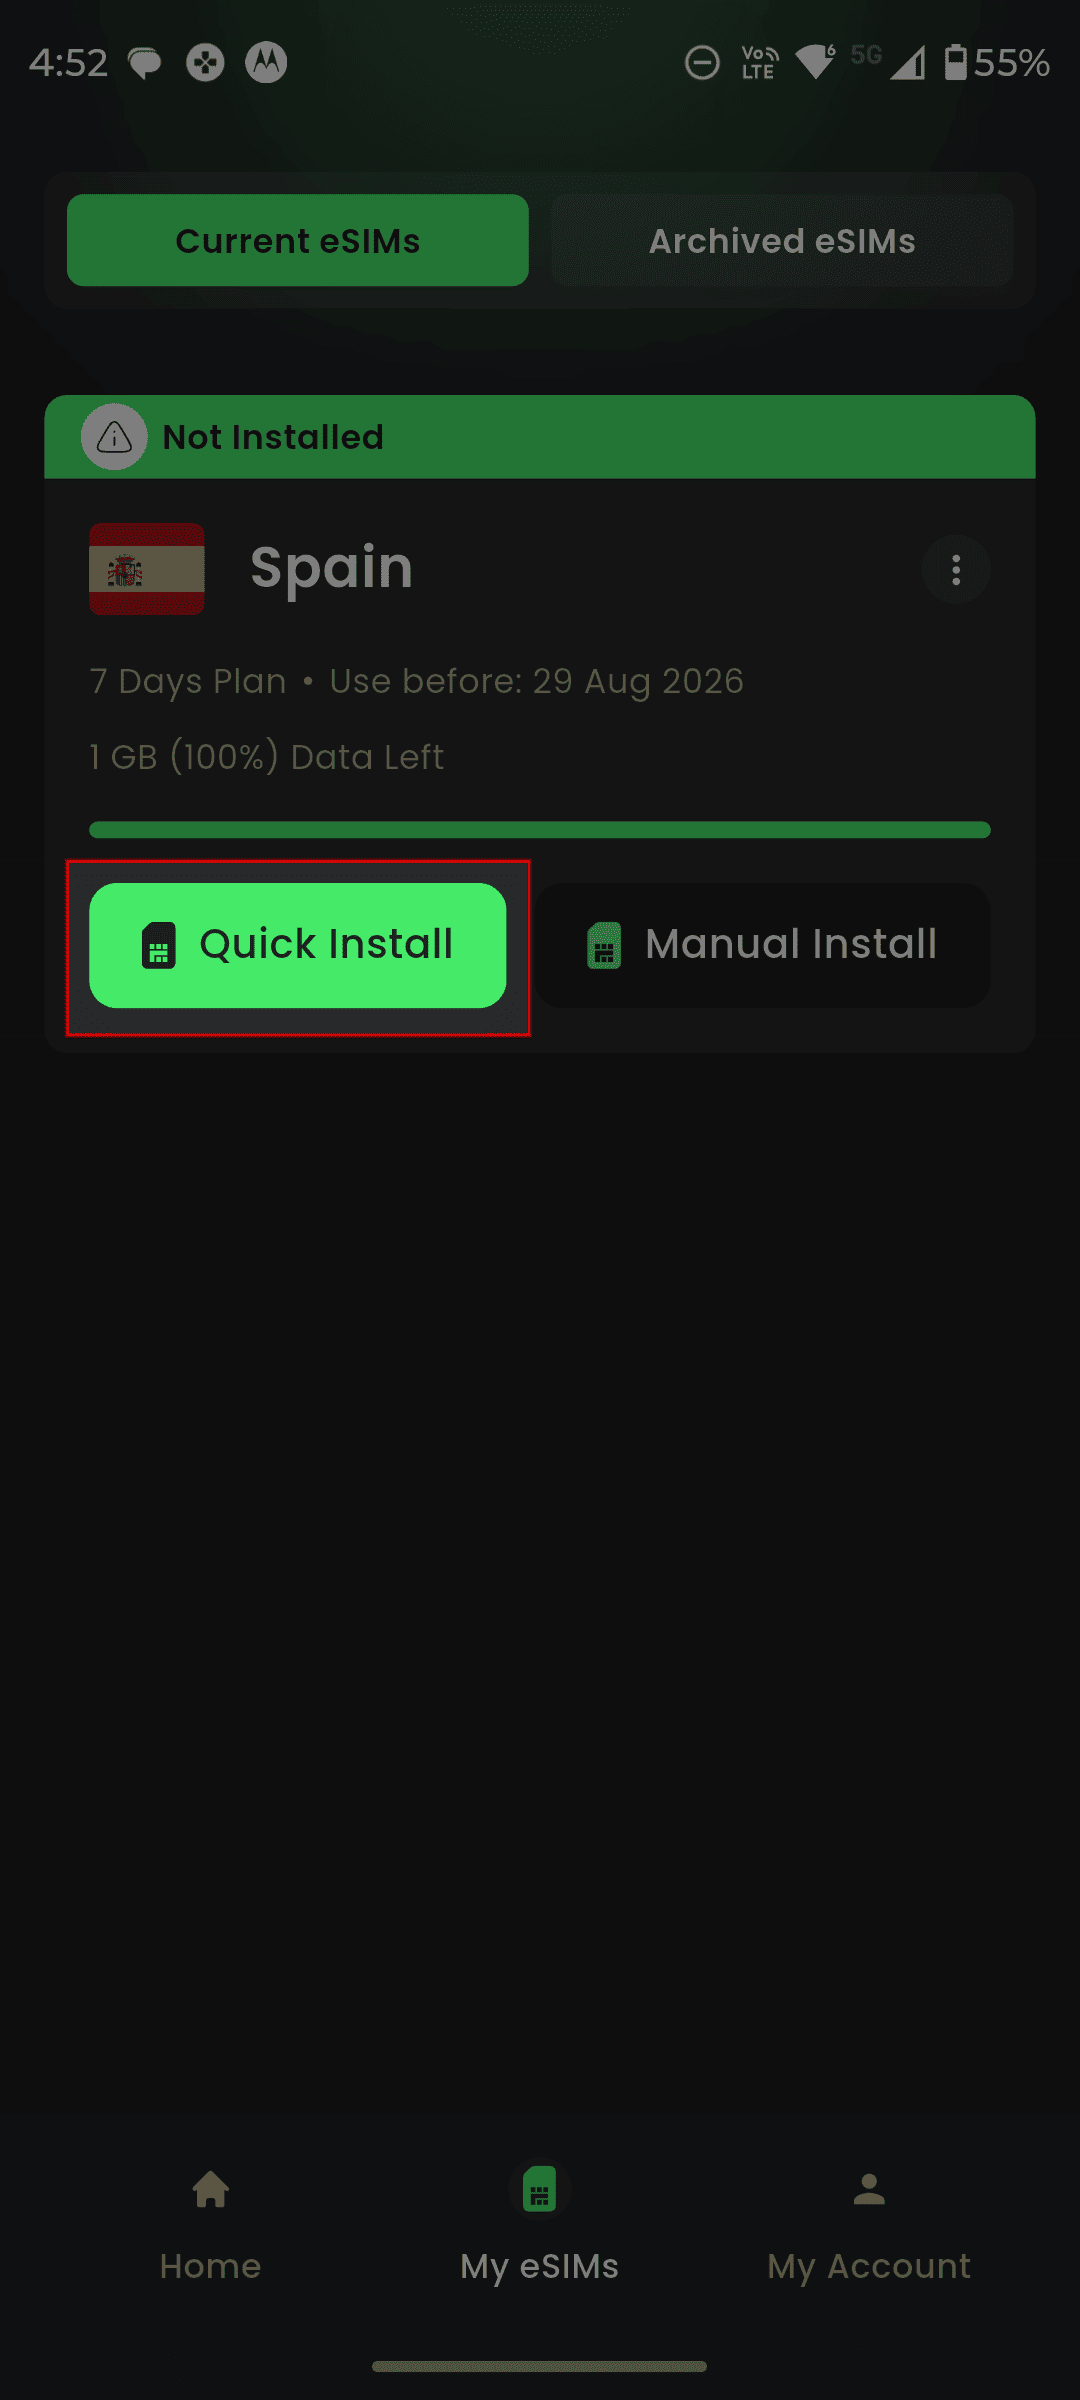
On your new eSIM, tap "Quick Install".
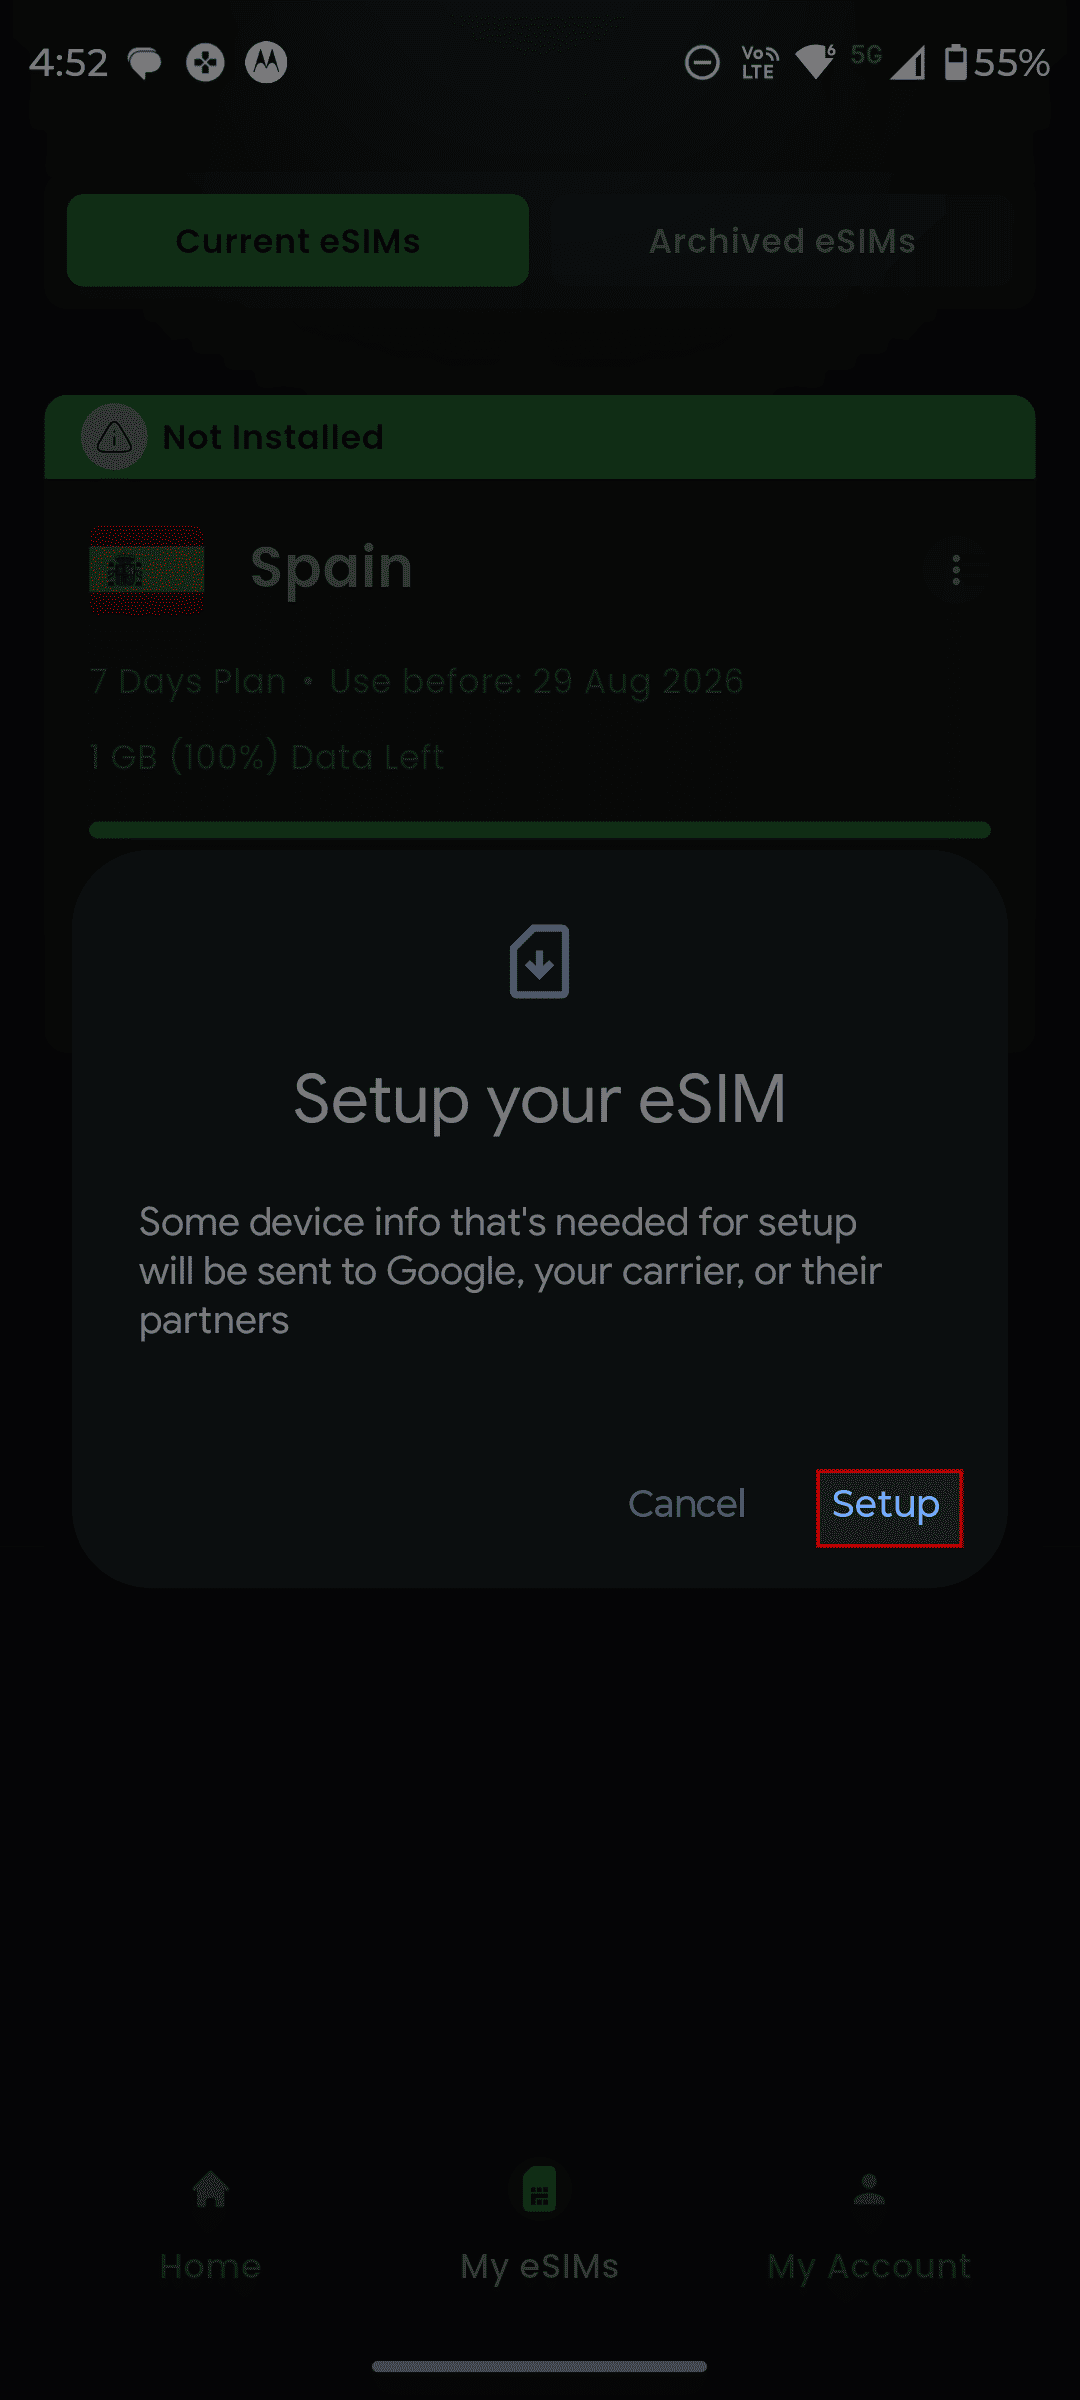
A confirmation pop-up will appear—tap "Setup".
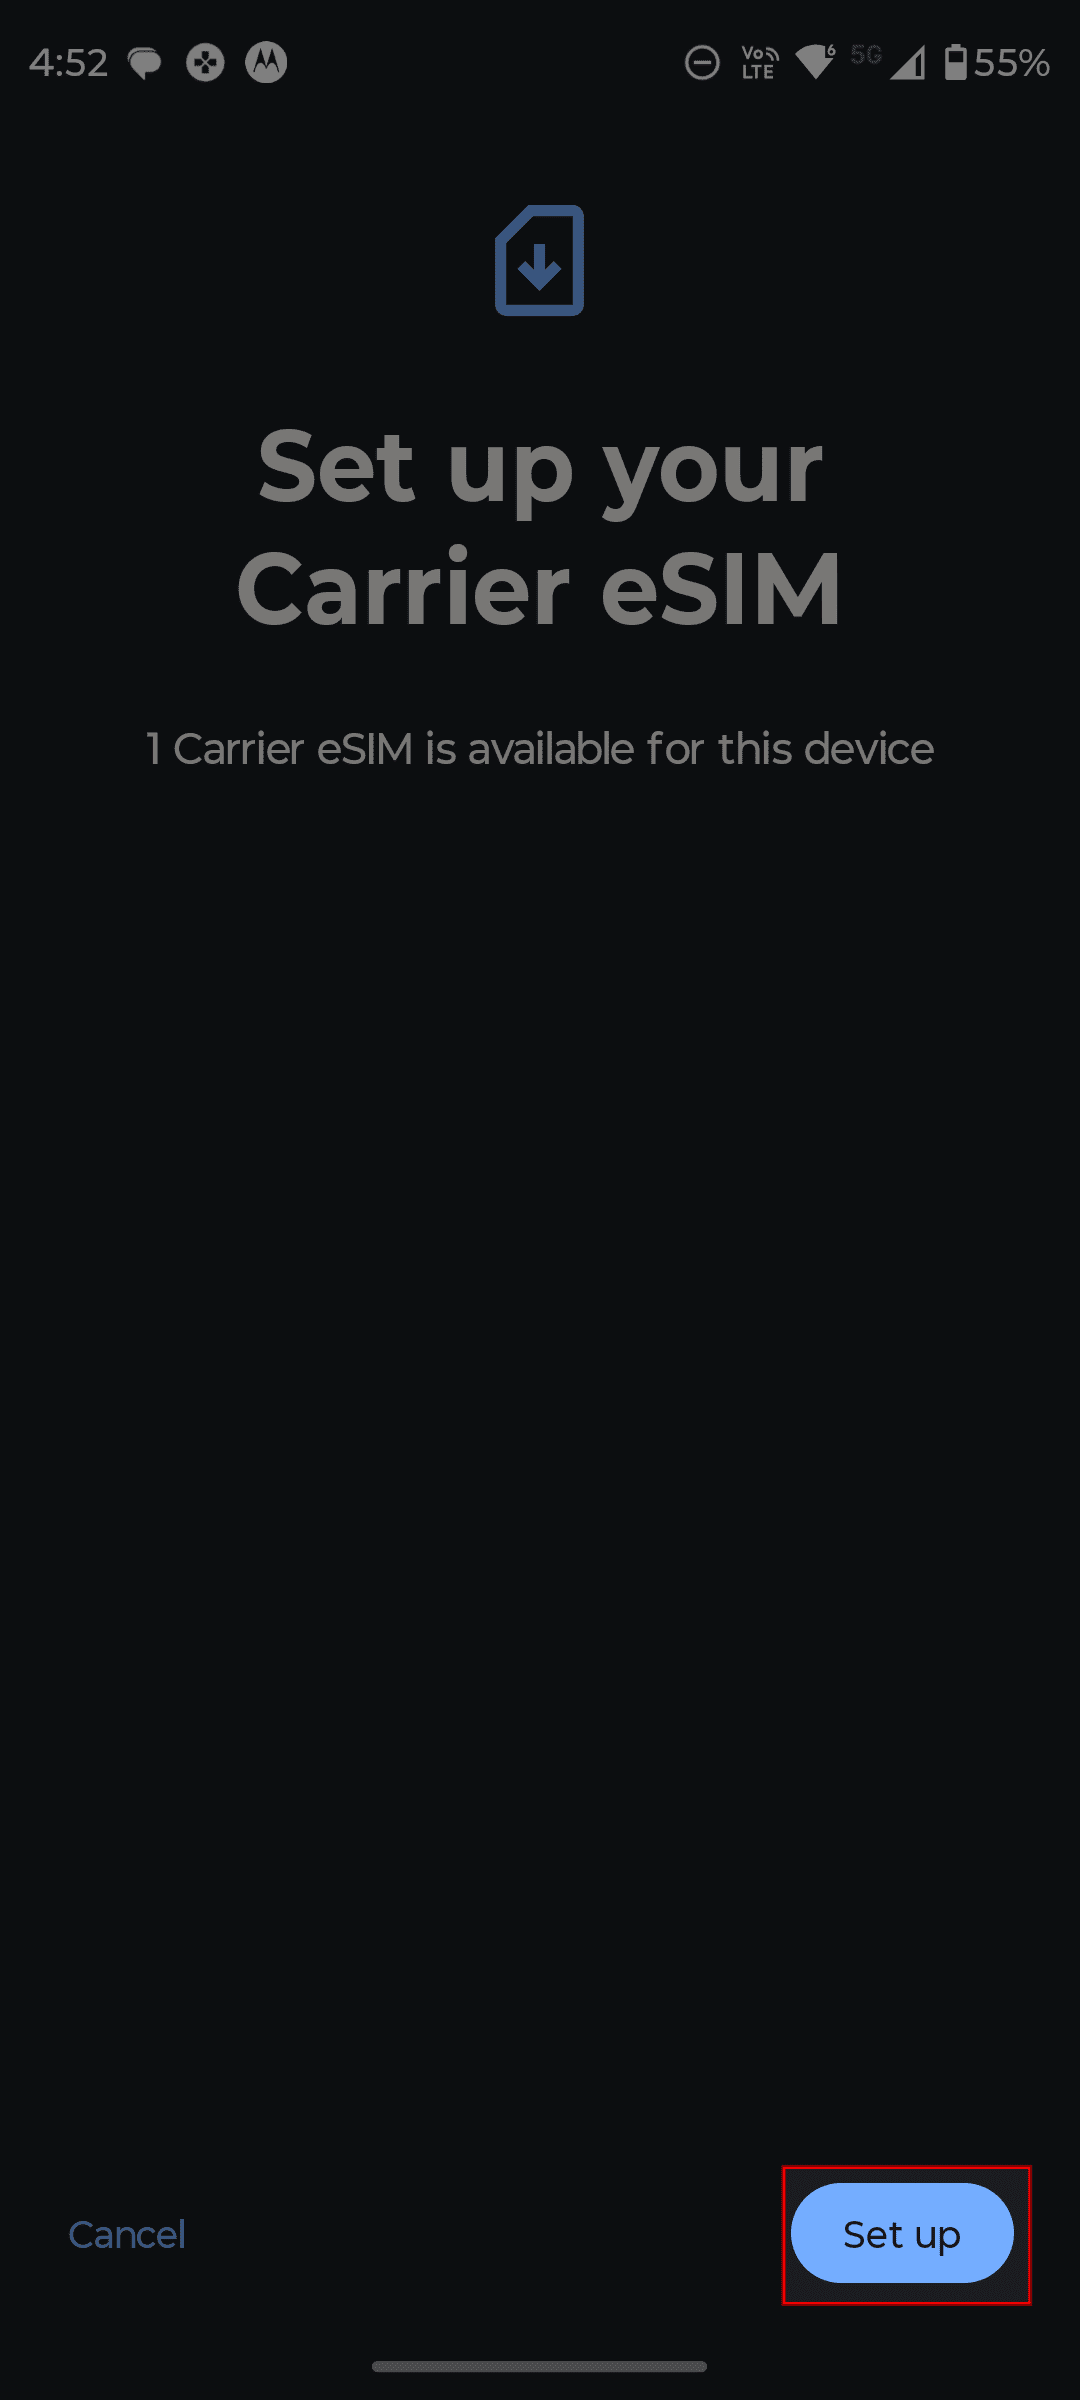
A final confirmation screen will appear—tap "Set up".
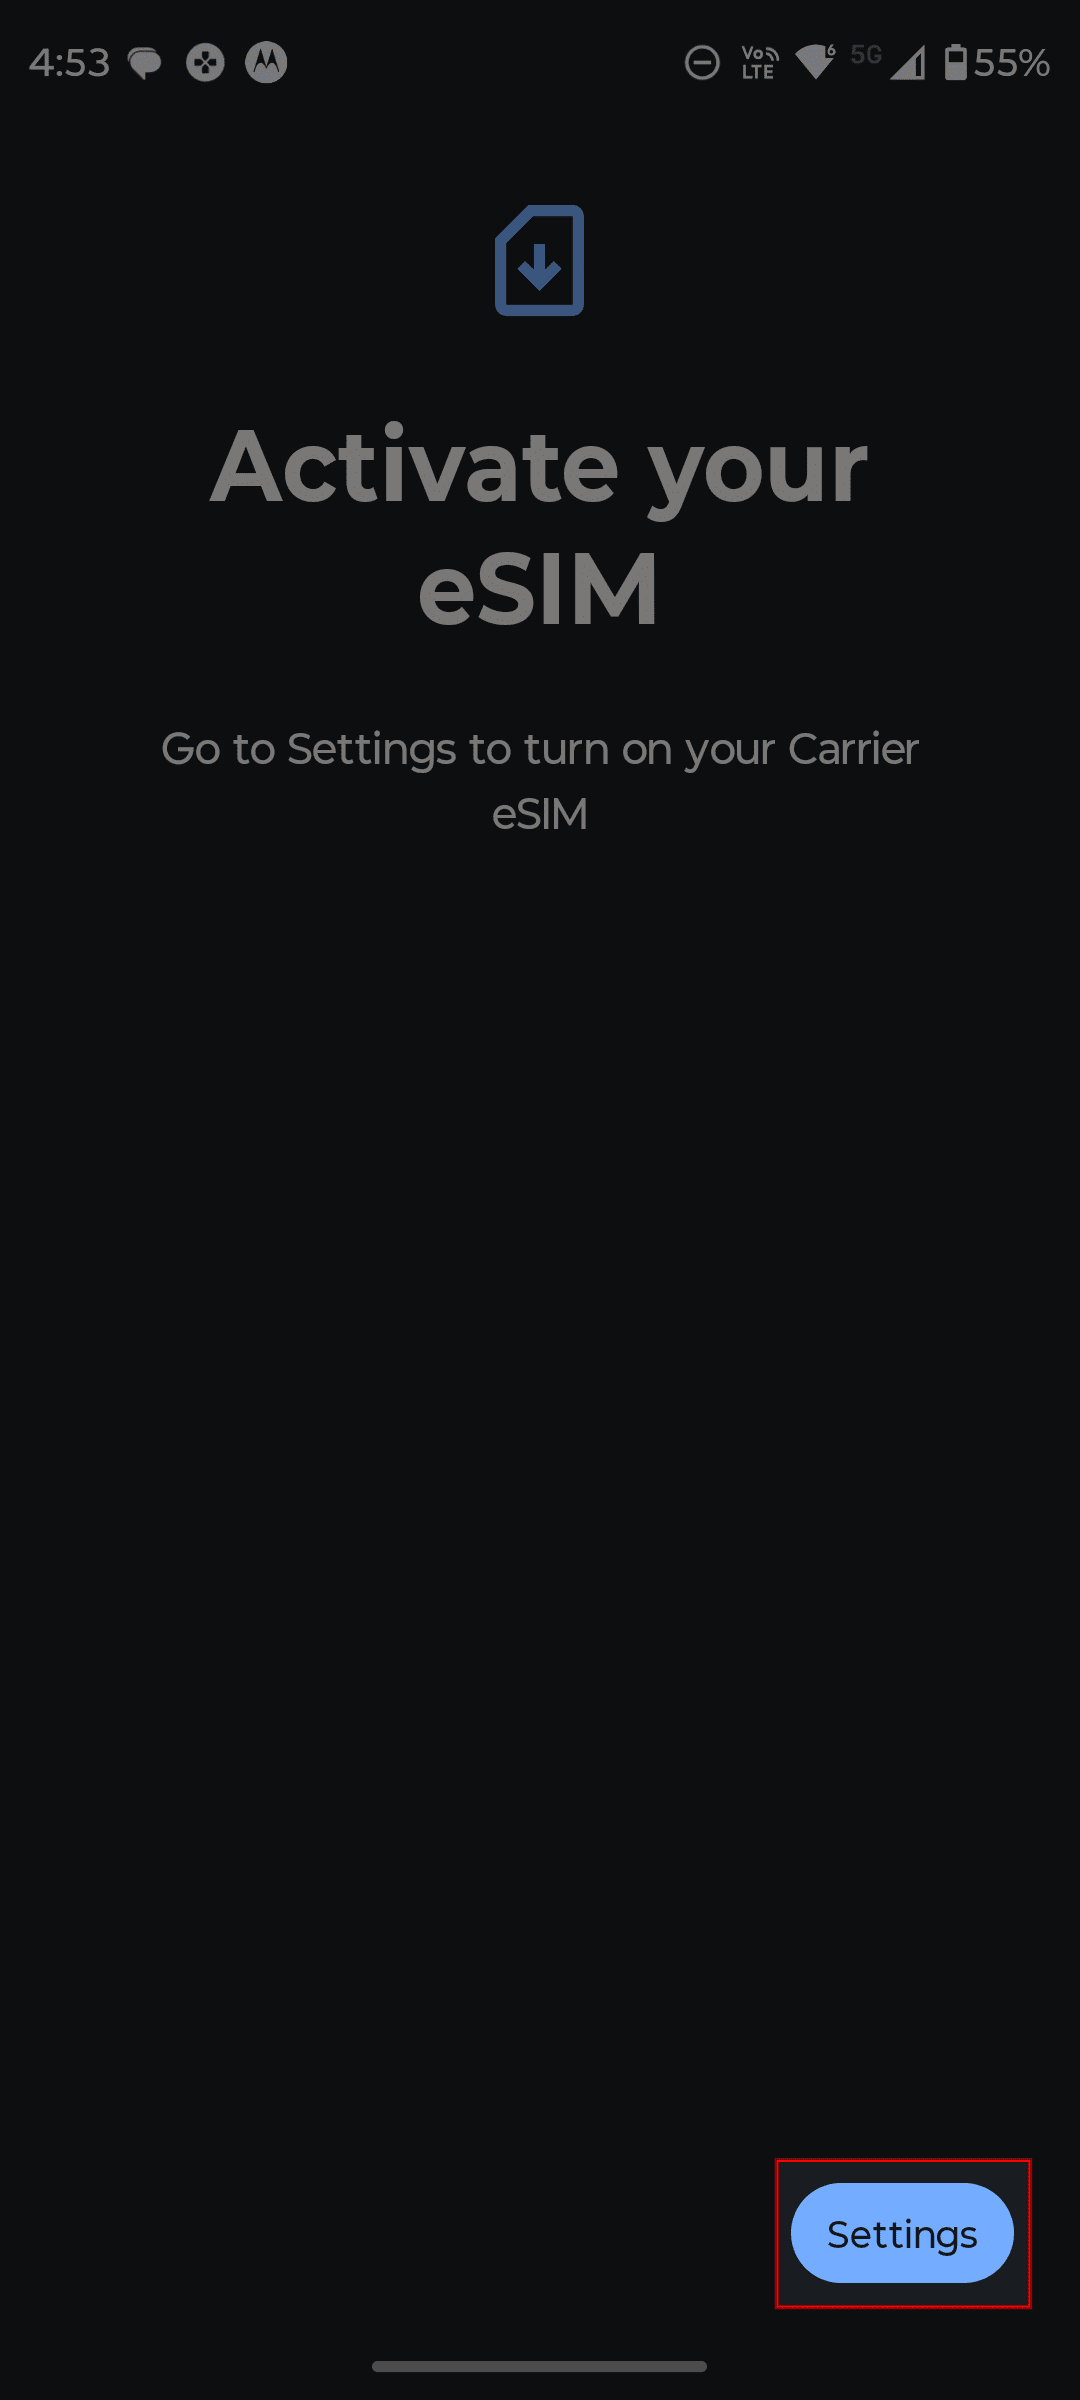
Once installation is complete, you will see "Activate your eSIM". Tap "Settings" to open your phone settings and turn on the eSIM.
Turn on the eSIM by tapping the toggle (power switch).
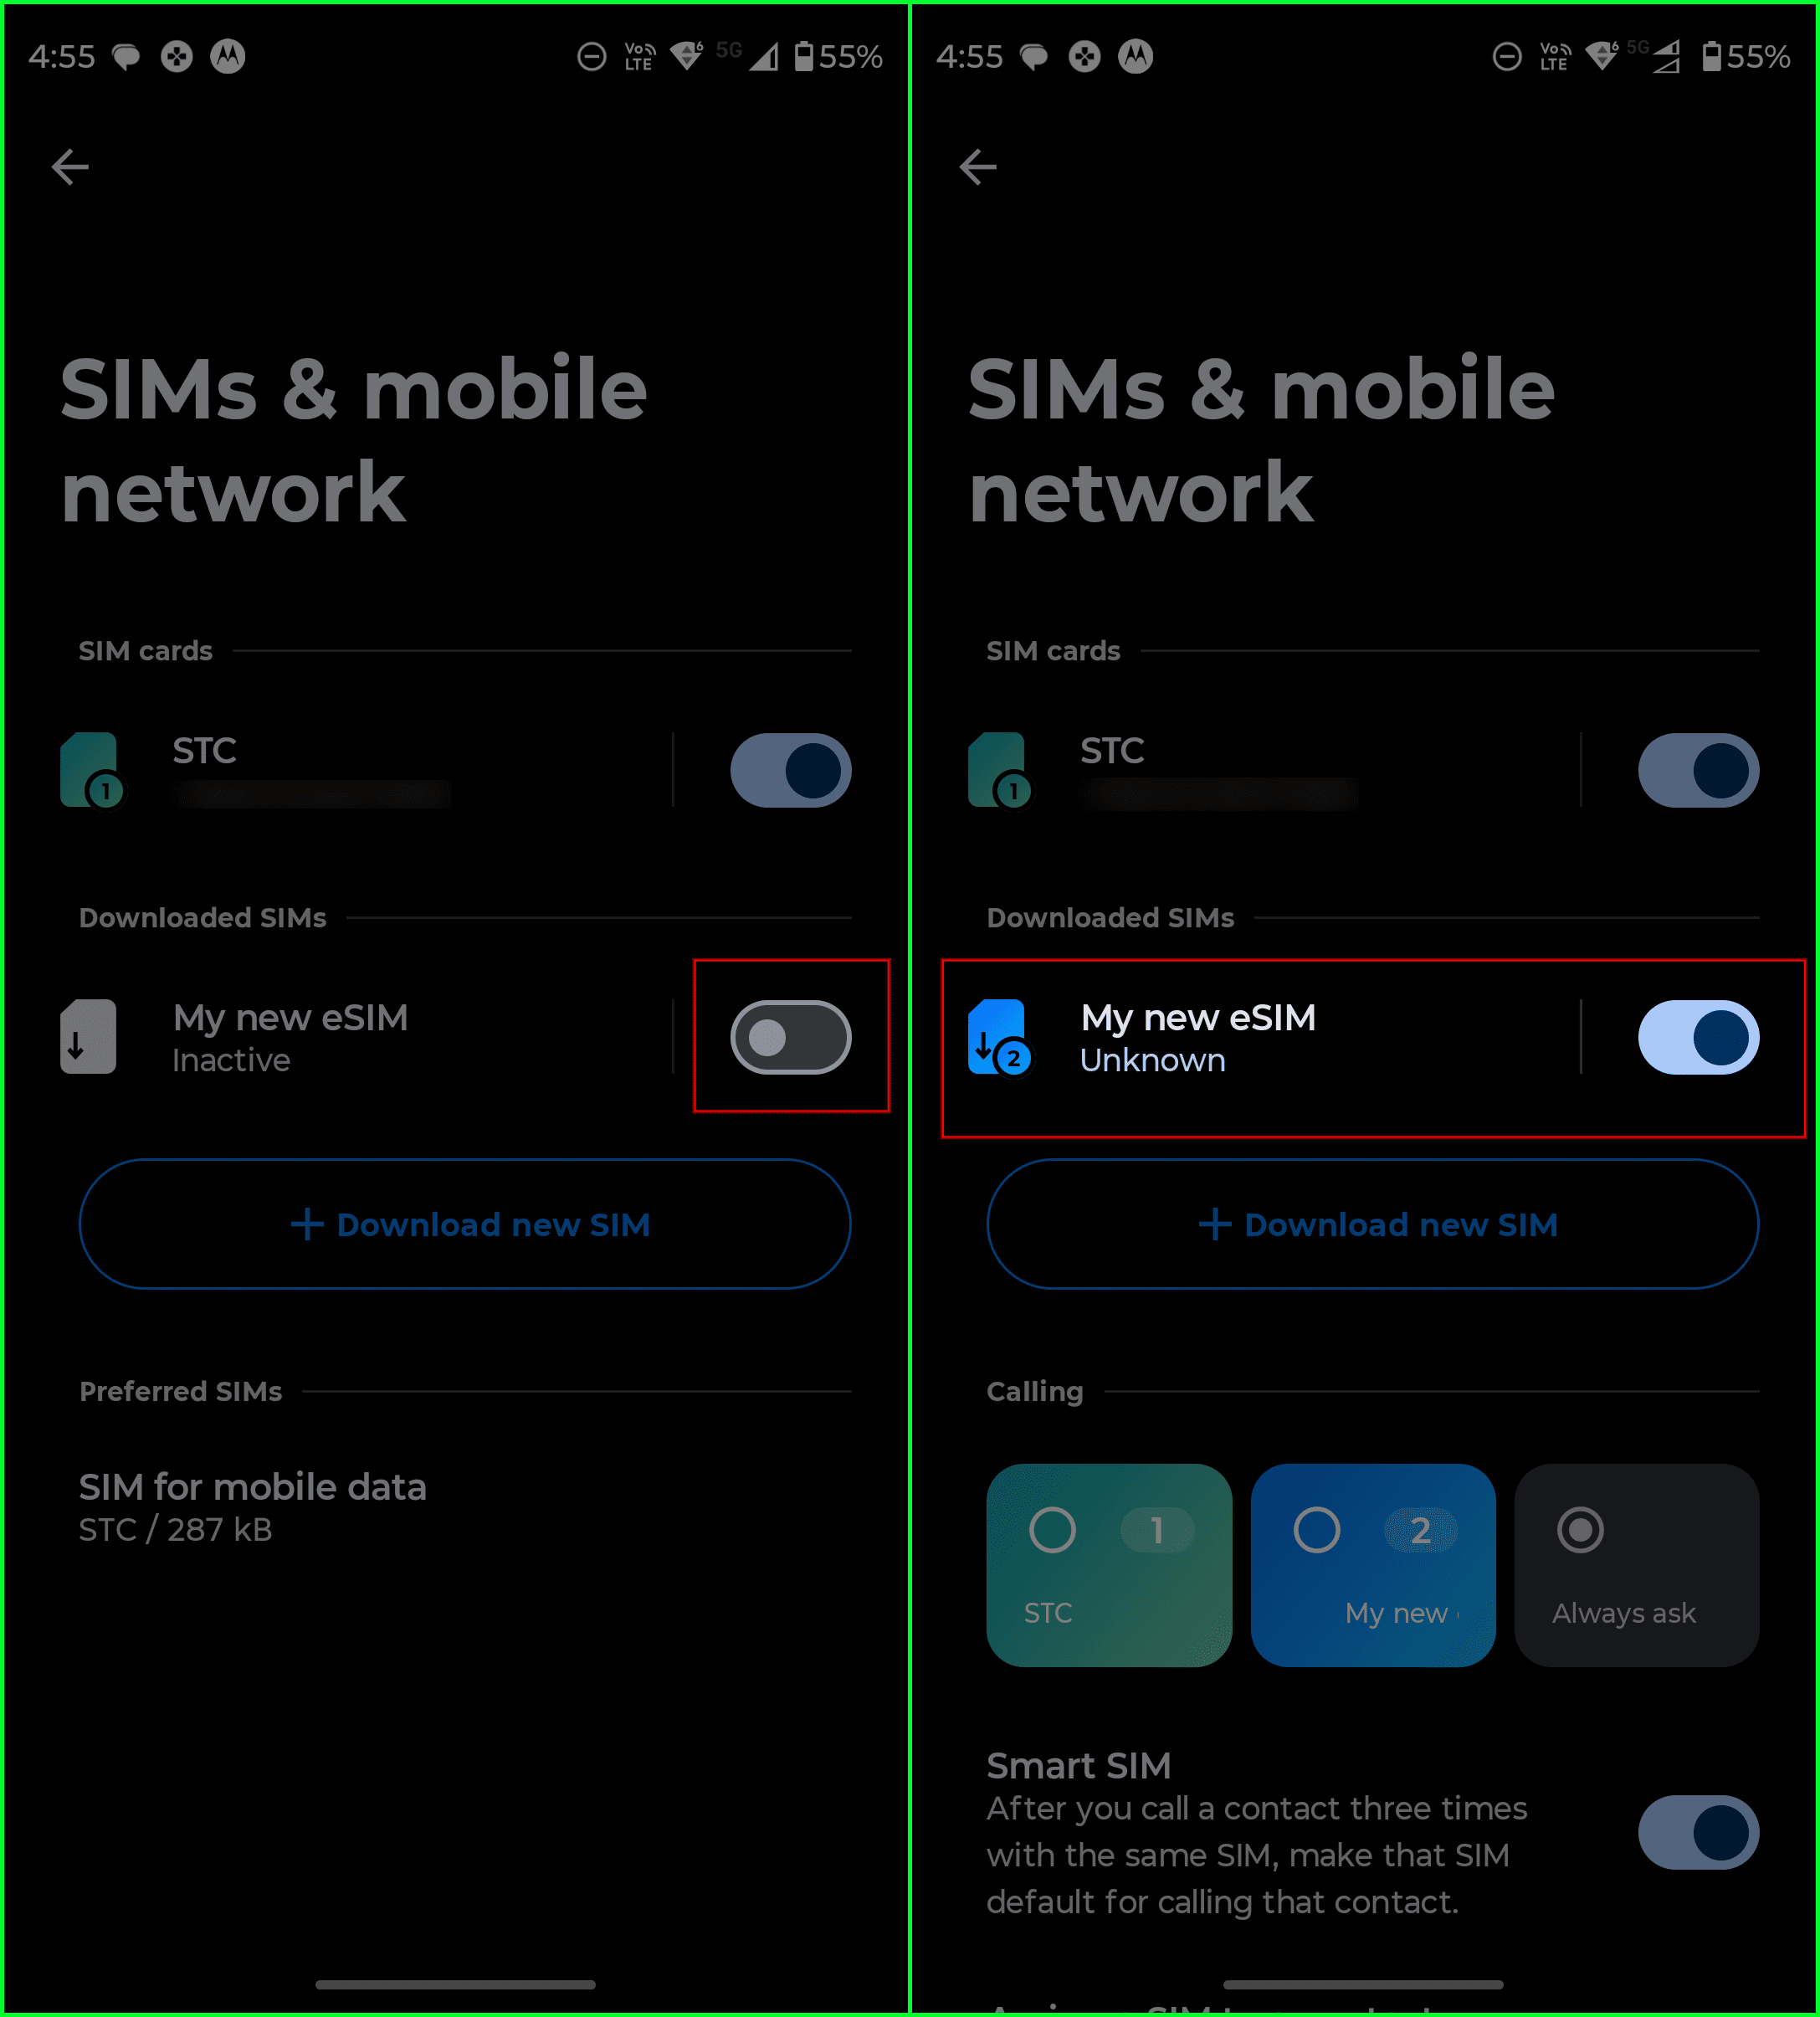
After the eSIM is installed and turned on, there are two required steps for the internet to work properly:
Enable Data Roaming
Set the eSIM as the Mobile data SIM
Please follow the steps in Part 2 below.
Part 2: Enable Data Roaming and set the eSIM as Mobile data
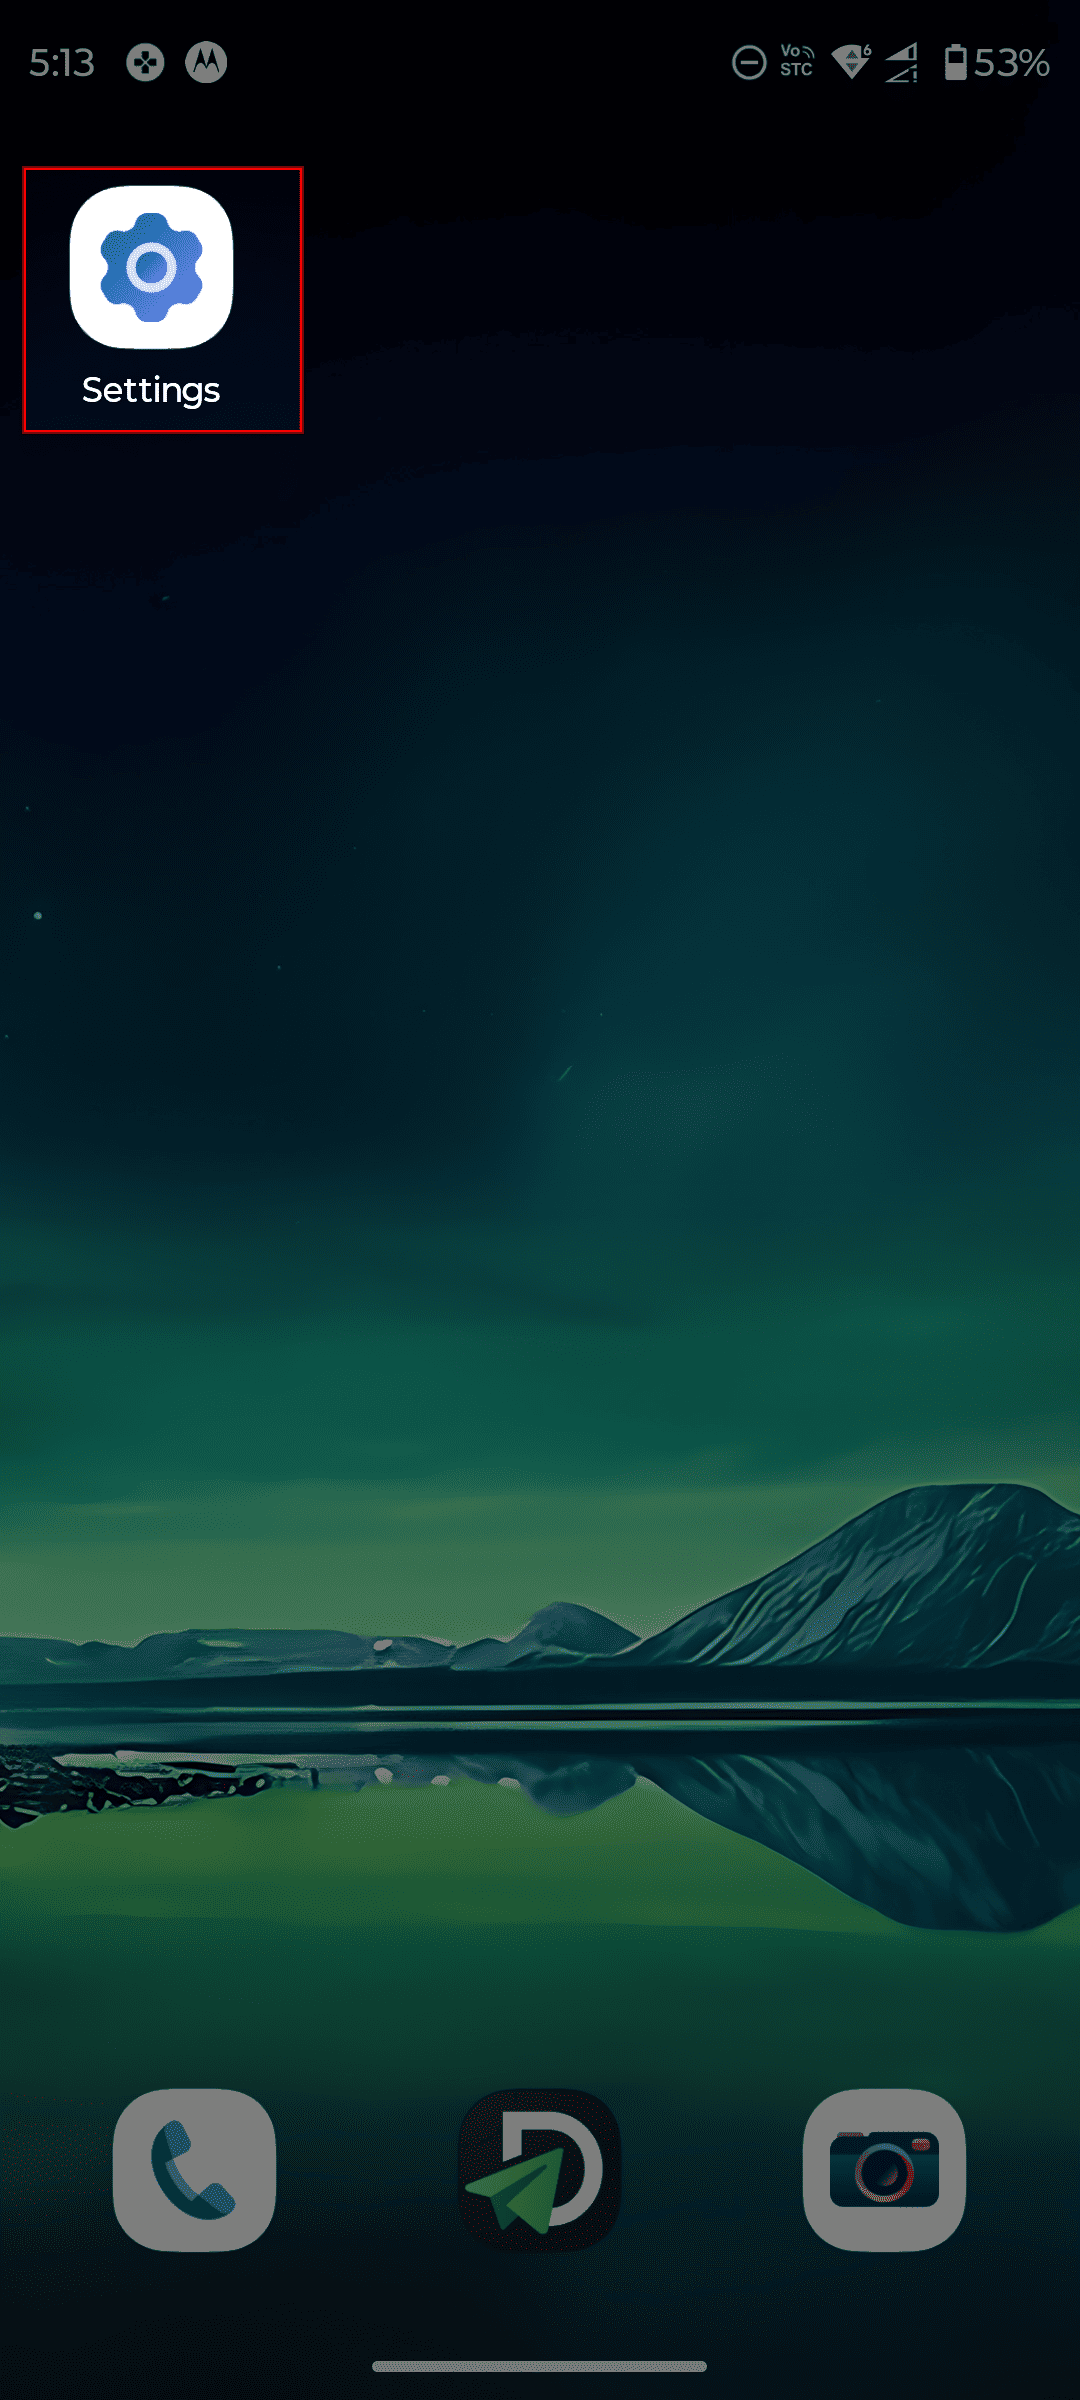
Open Settings.
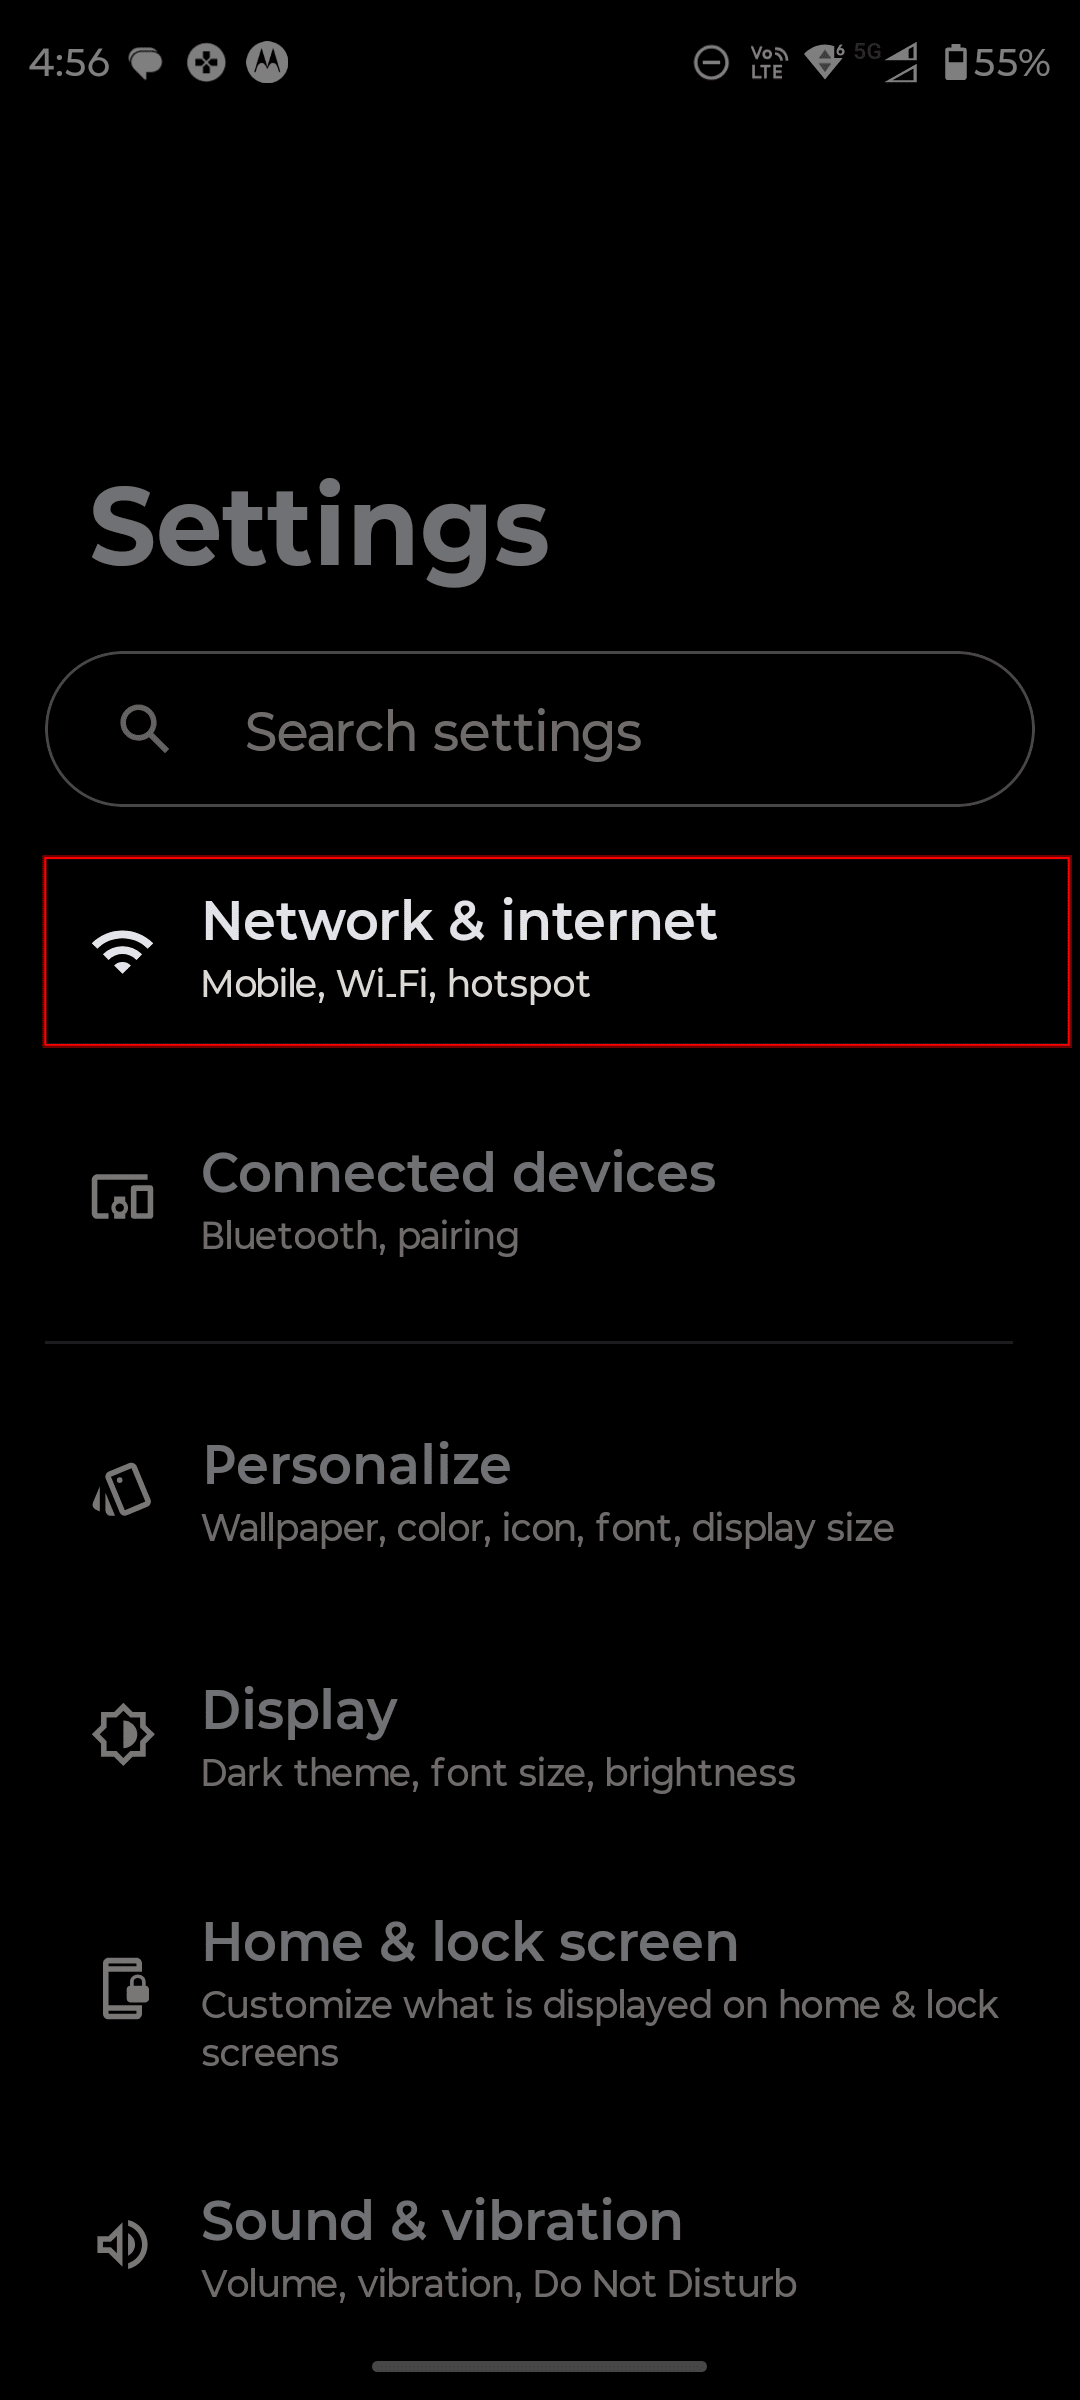
Tap "Network & internet".
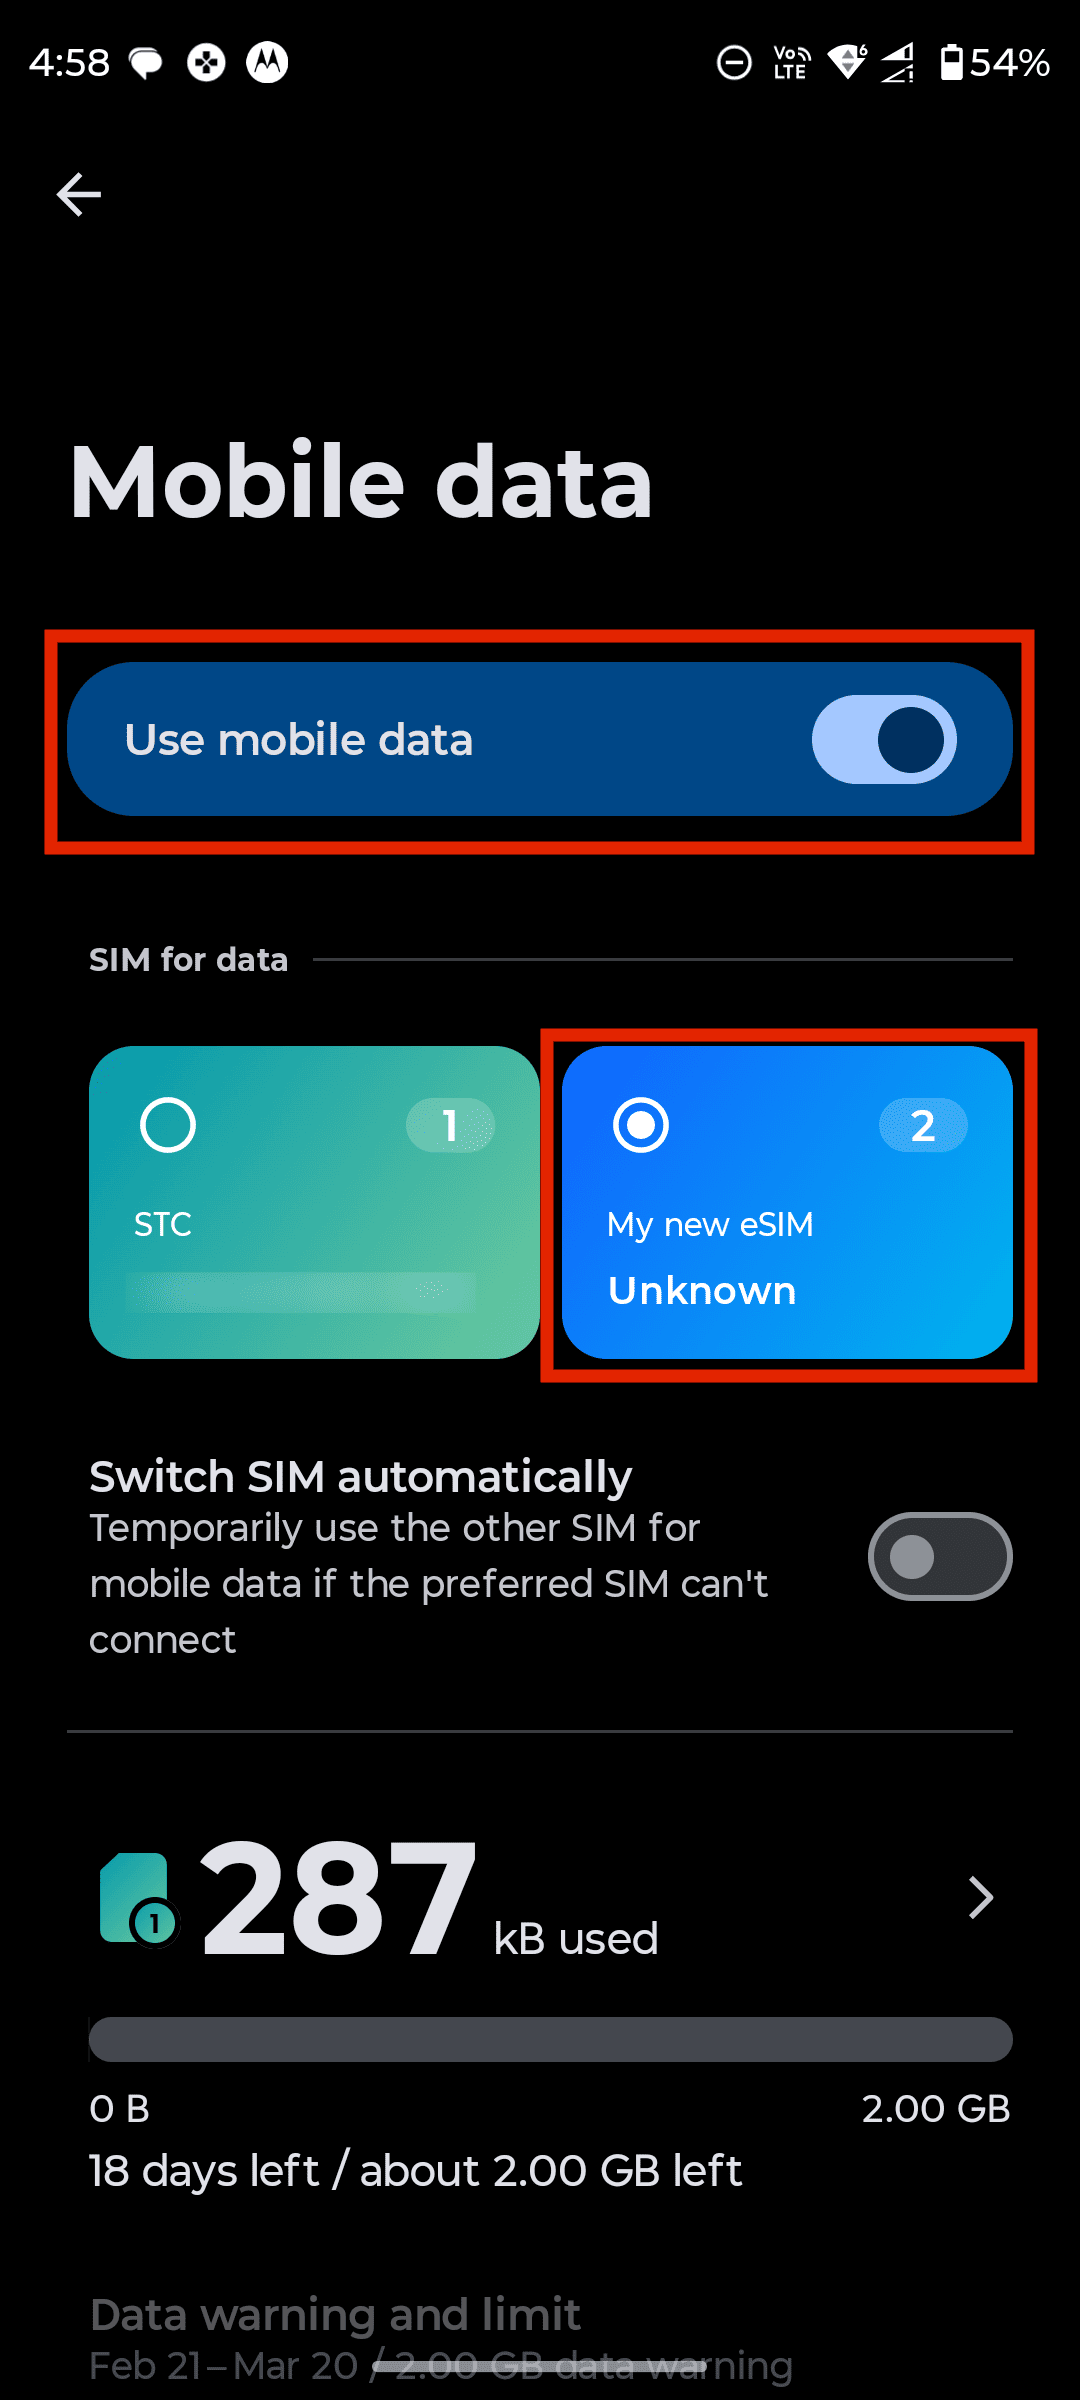
Tap "Mobile data".
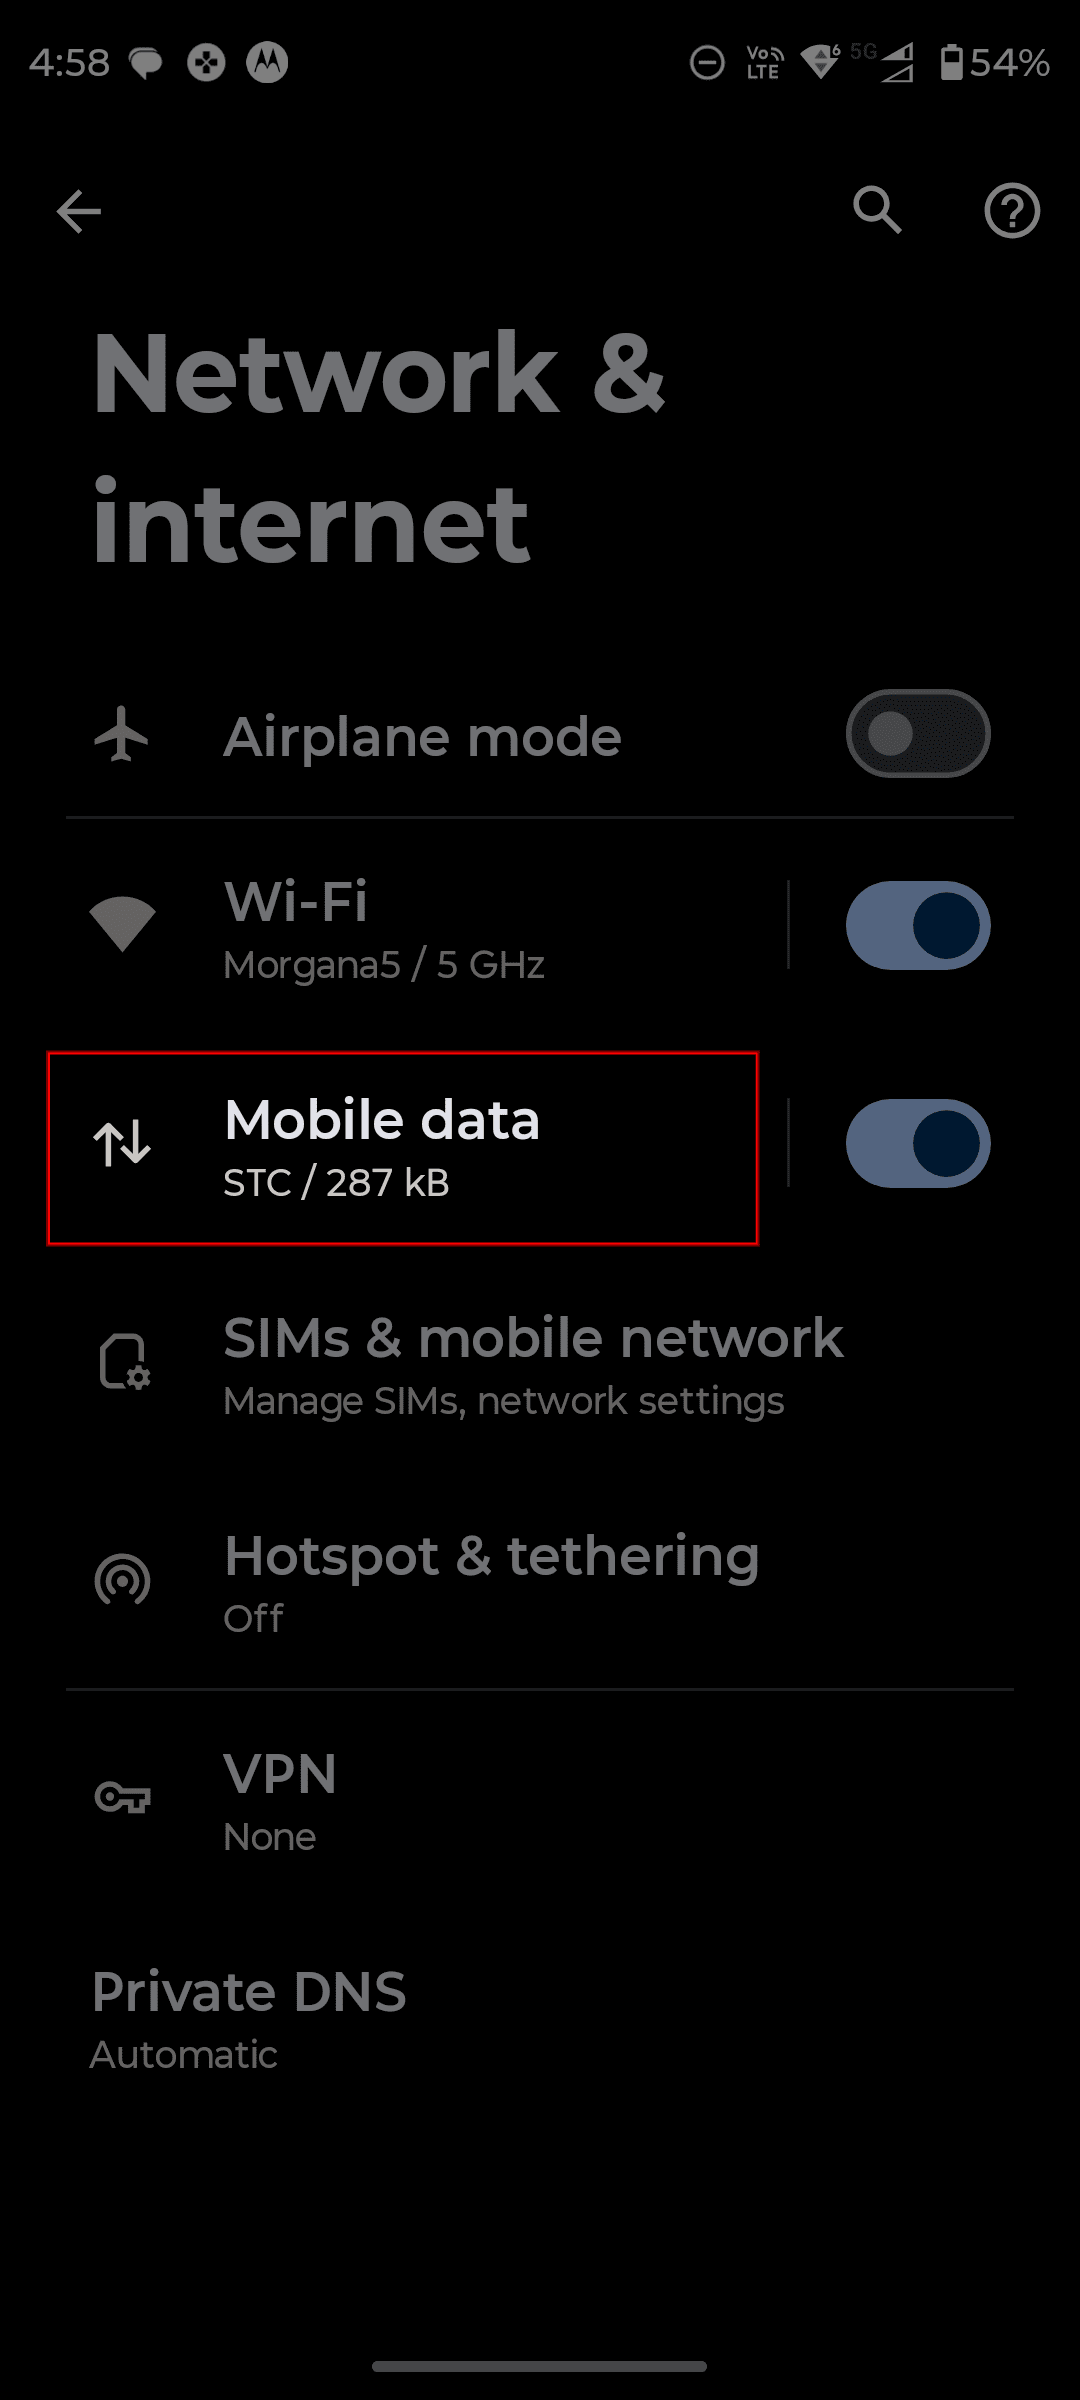
Enable "Use mobile data", then select the new eSIM you just installed as the preferred SIM for Mobile data.
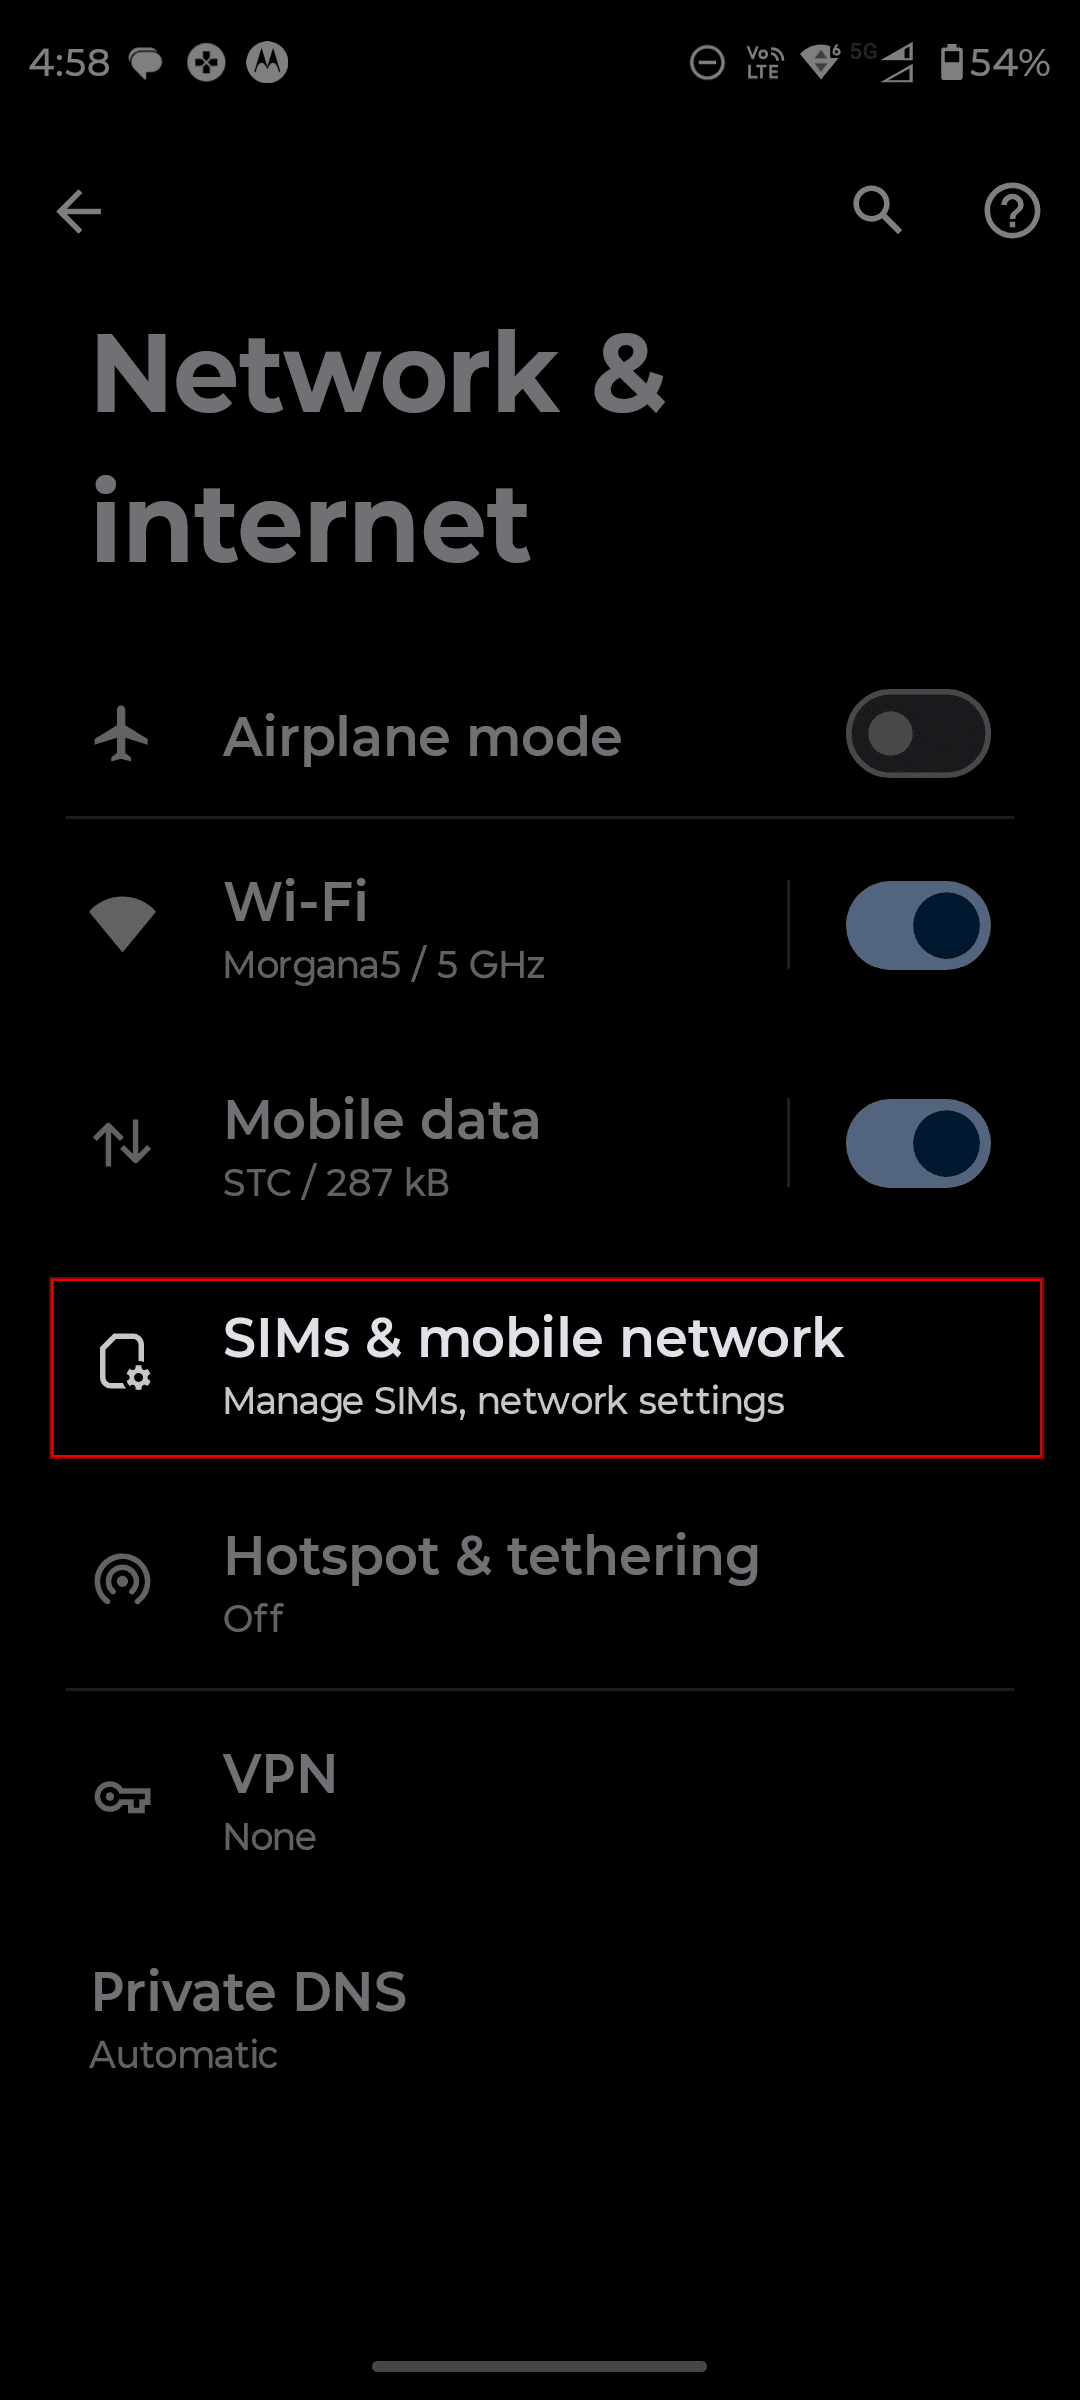
Go back to "Network & internet", then tap "SIMs & mobile network".
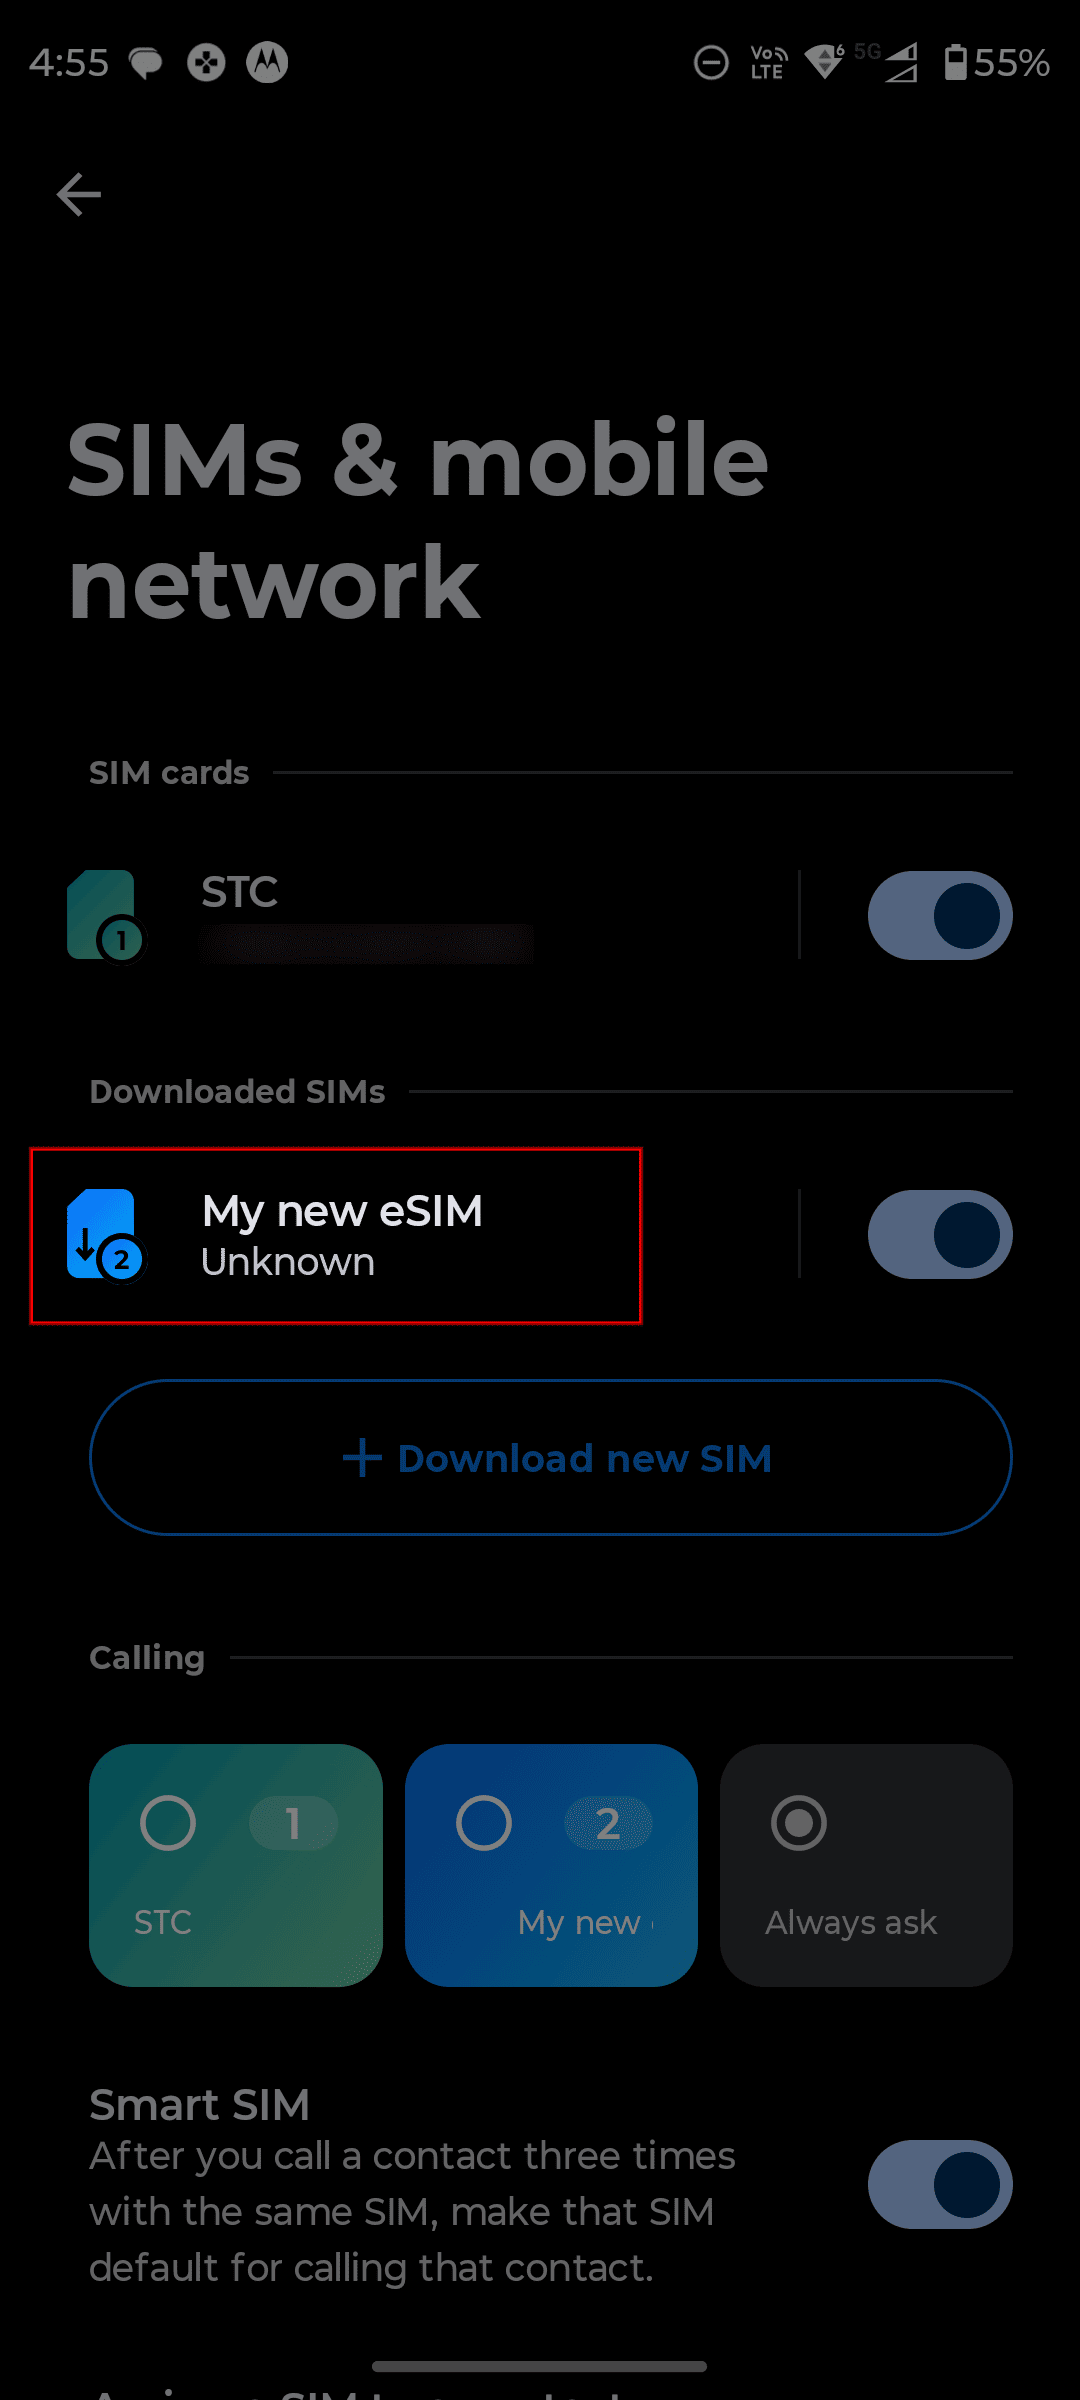
Tap your new DataFly eSIM in the area highlighted in red (as shown in the image).
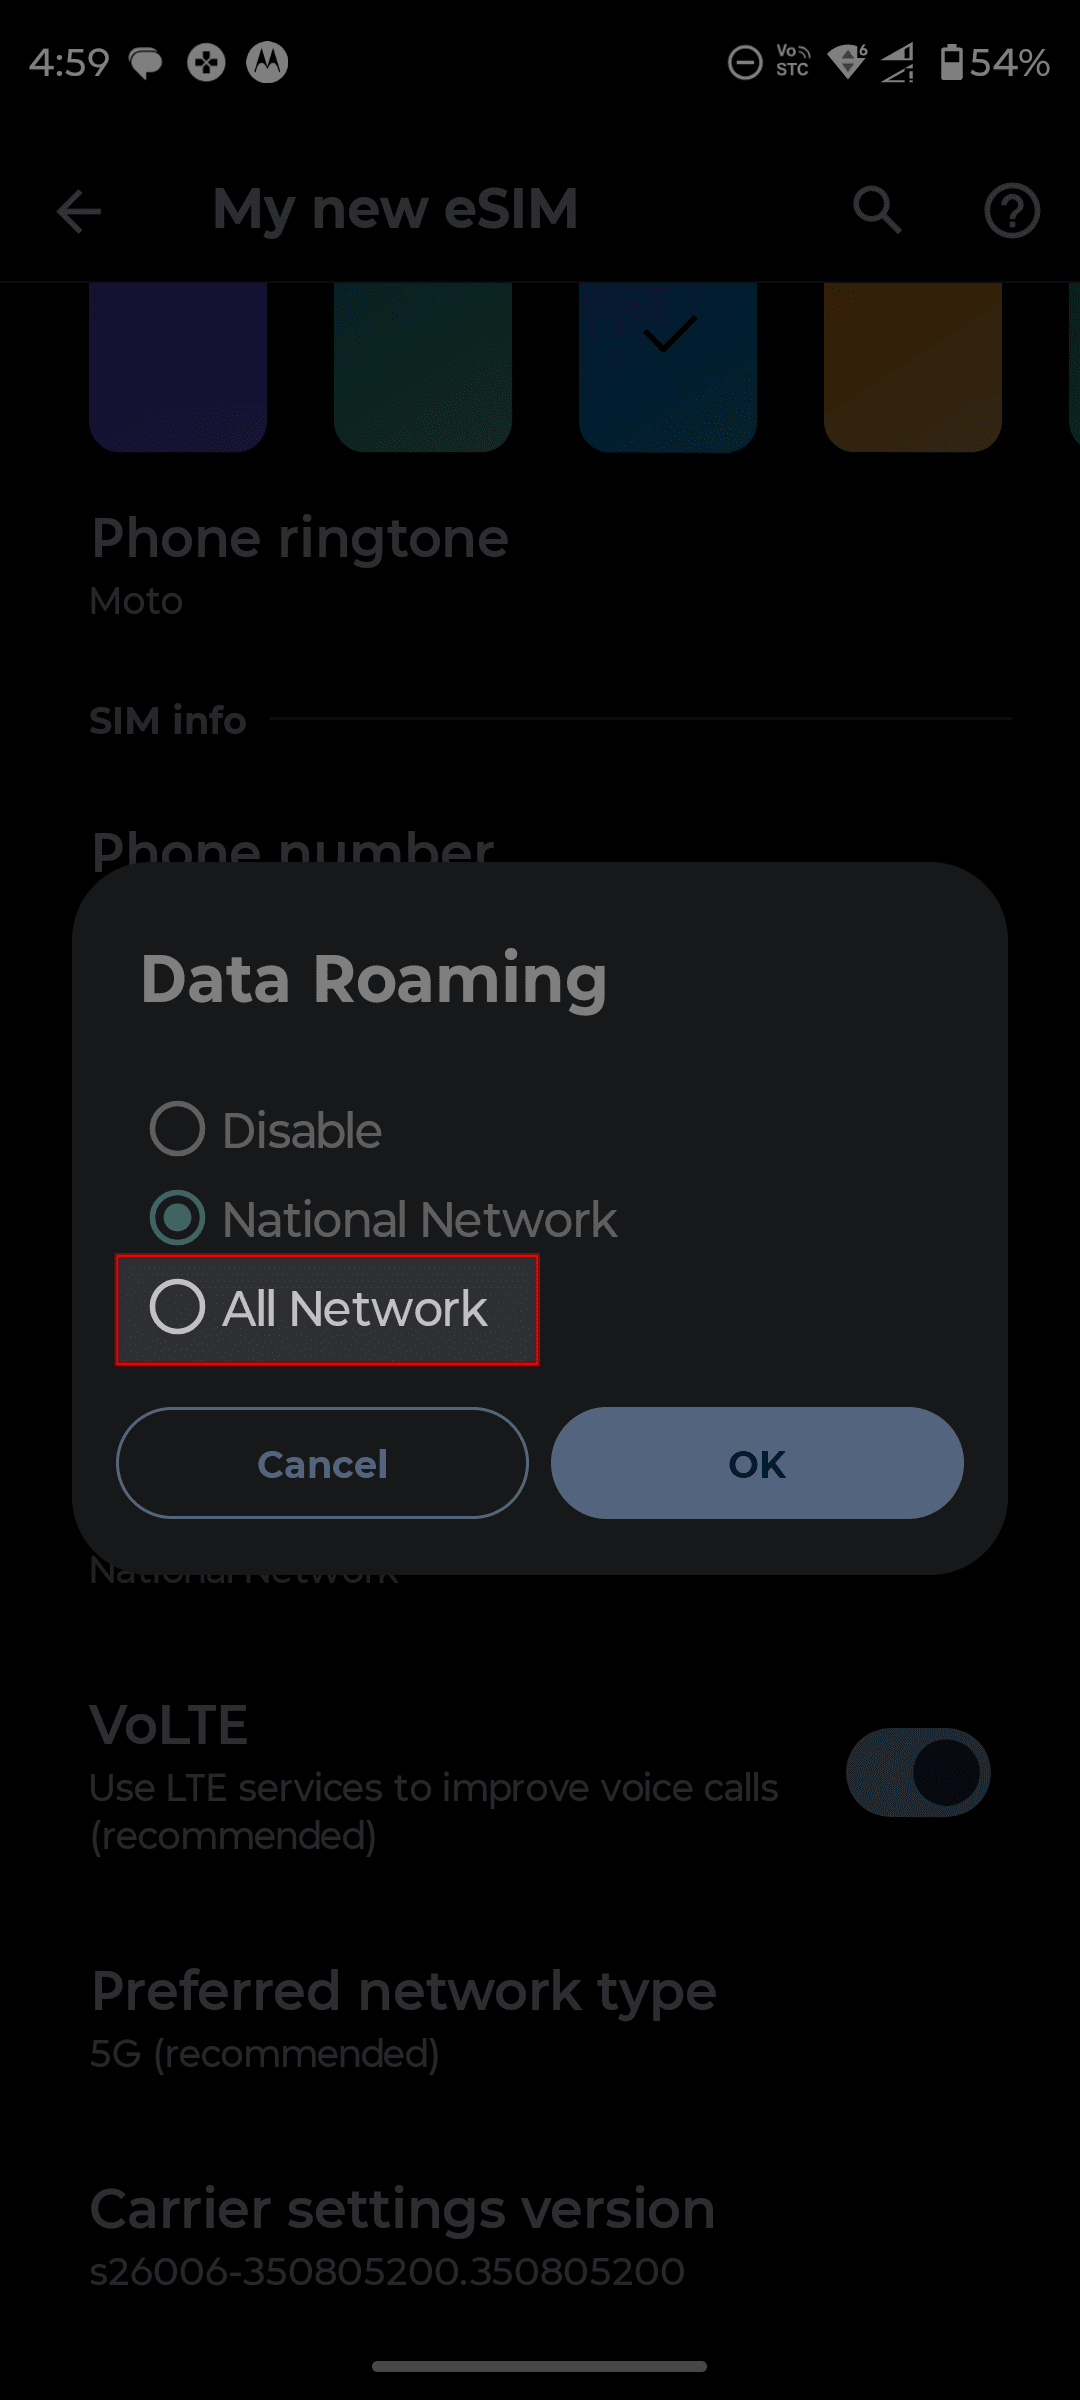
Scroll down slightly, then tap "Data Roaming".
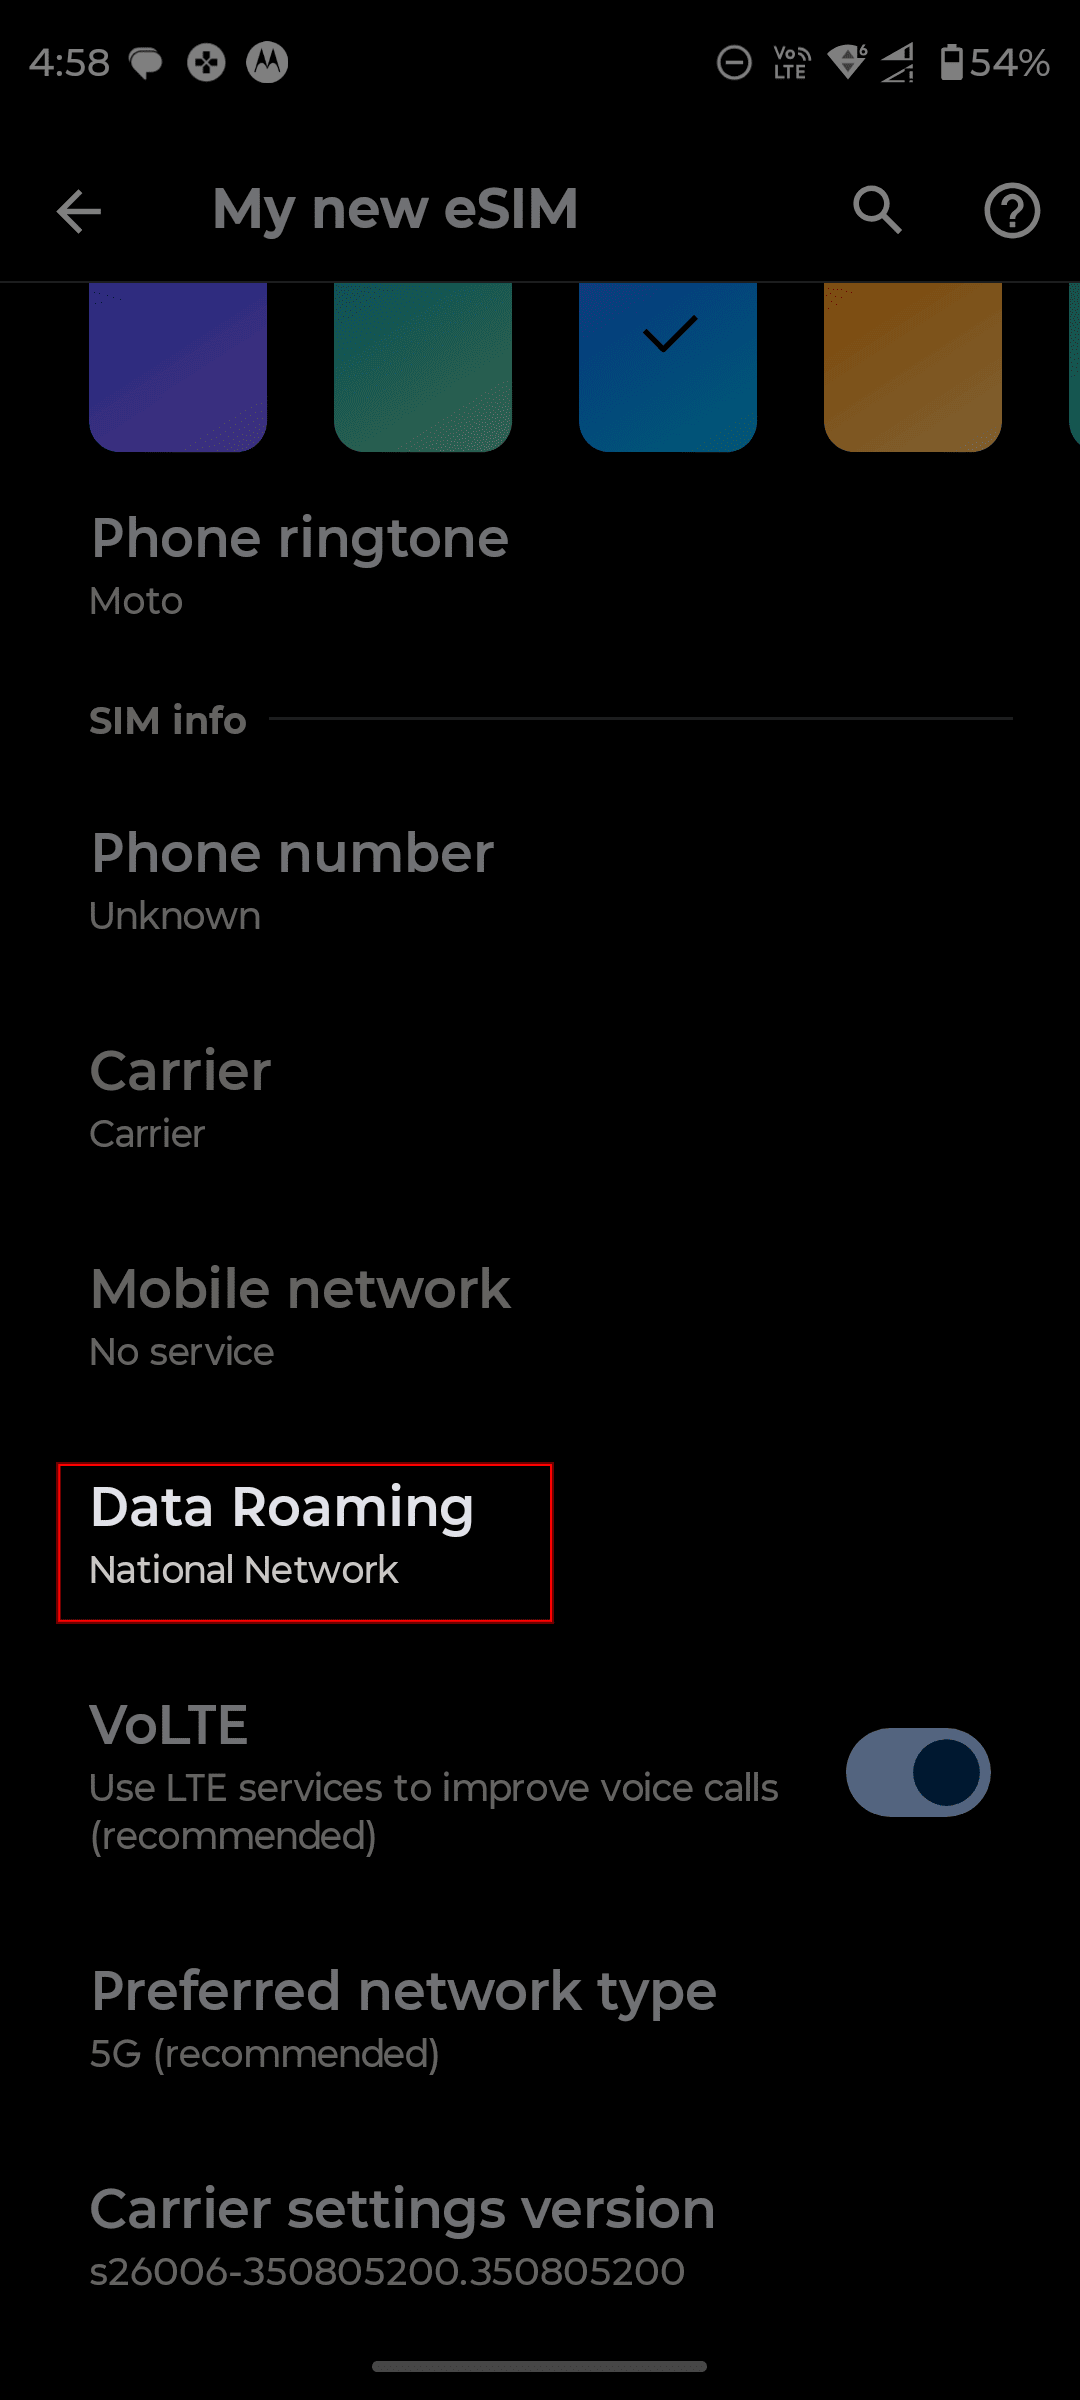
Select "All network".
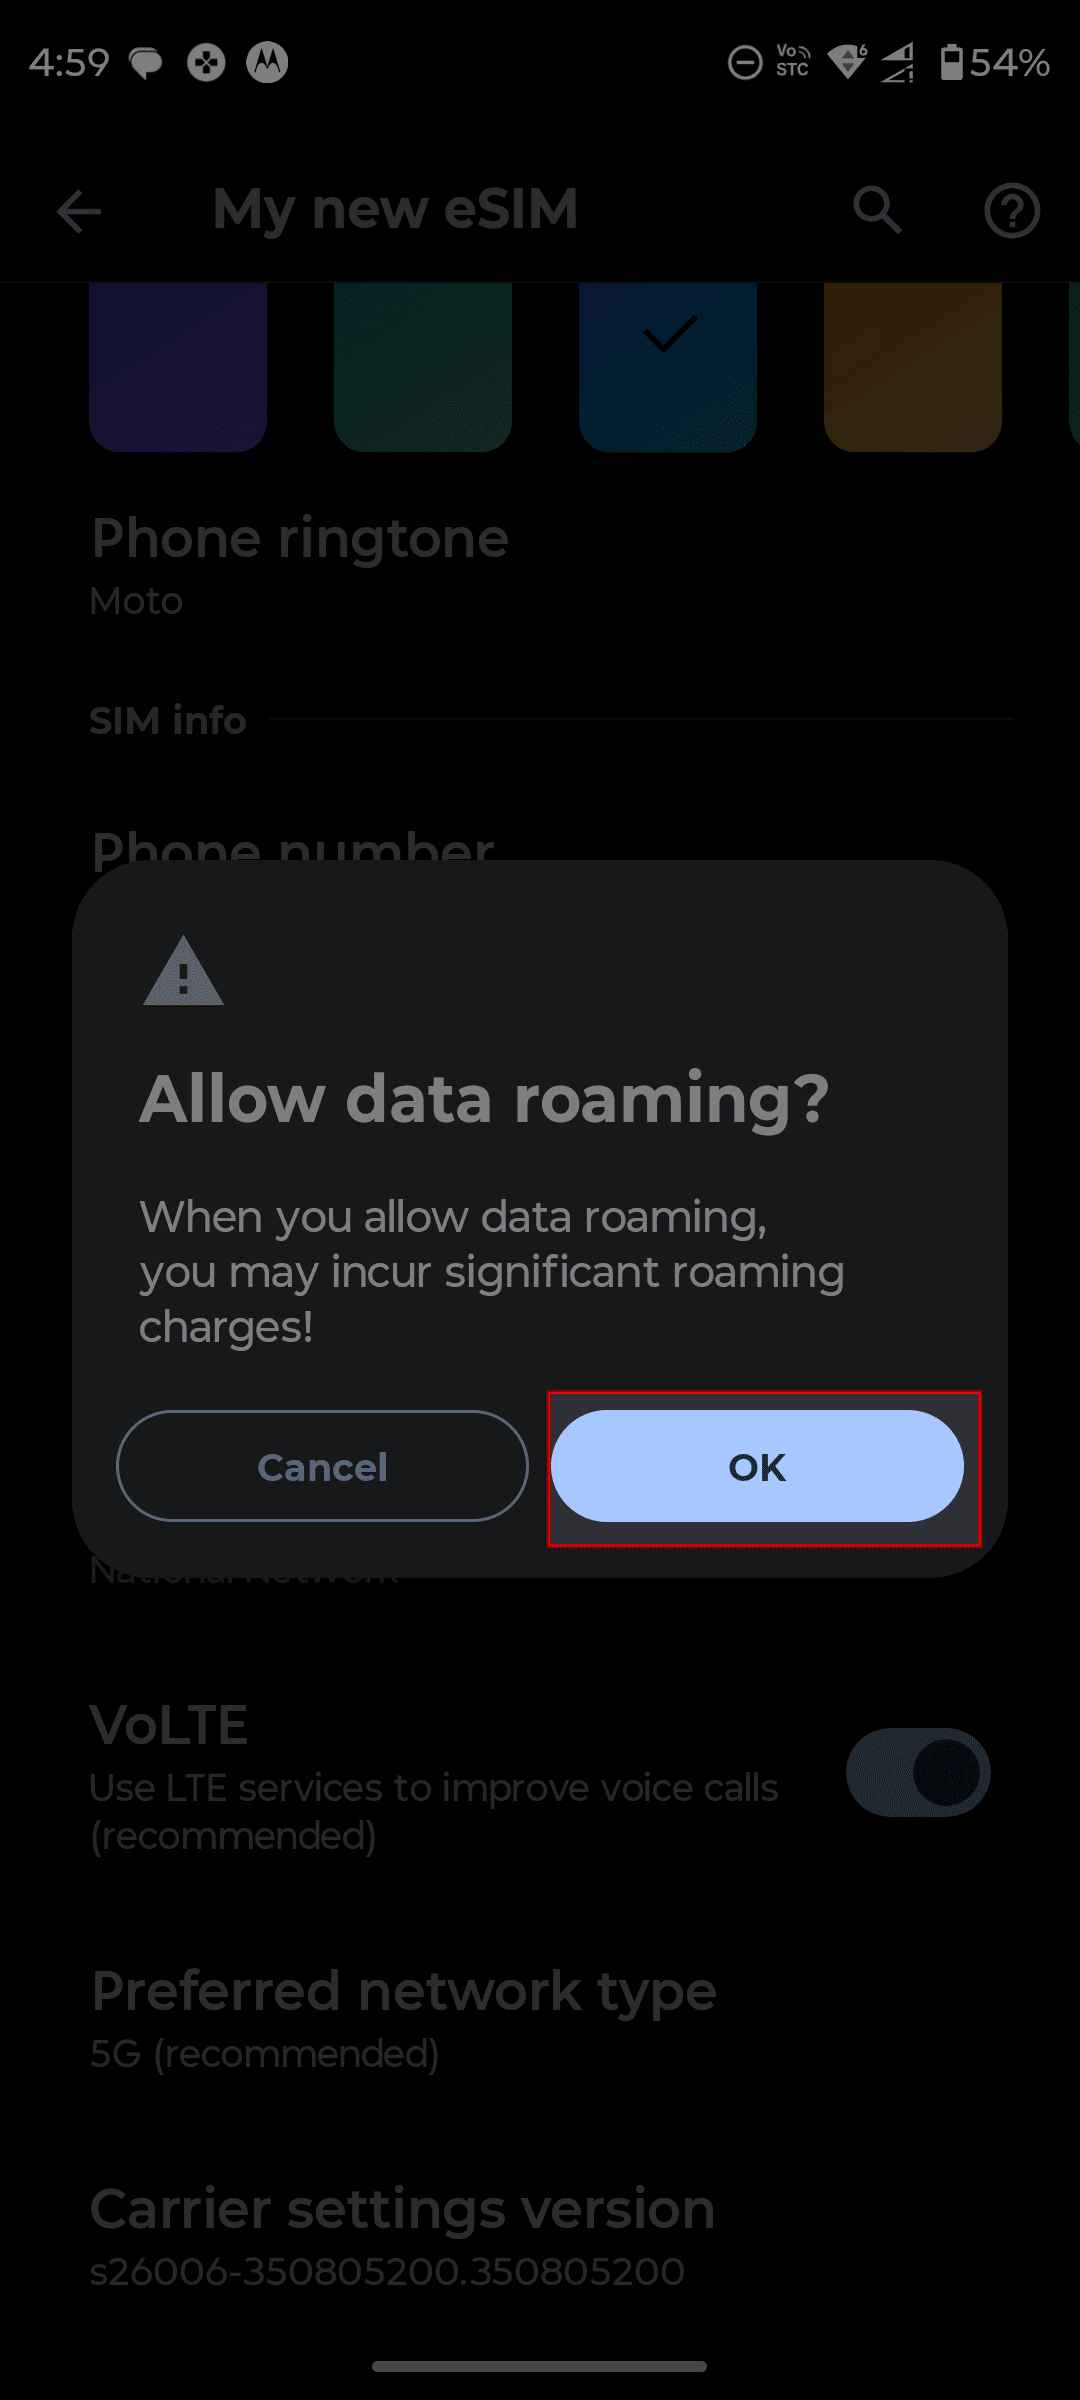
A system warning will appear before enabling roaming—tap "OK".
Once you complete all steps in Part 1 and Part 2, you’re all set ✅
We wish you a happy trip ✈️